
From Concept to Engine: A Blender-Based 3D Asset Pipeline
This project was an experiment and test of mine to see what exactly happens, or needs to happen when making a 3D asset for different uses. Specifically, in this project, it was taking an existing ship asset made for 3D printing, and converting it to an asset for game or cinematic use.
I solved two specific problems with this project:
- The first was detailing what needed to be done for the conversion.
- The second was how one could do it efficiently.
In solving both, I also fulfilled a niche that not many others touch on, such as the technical side of Blender. I detailed step by step what I did, why I did it, the constraints I faced, and my rationale for the specific solutions to the problems I faced.
For example, the differences between traditional animation, such as the approach used on my camera, and dynamic motion, which was the approach used on my ships.
My approach was fairly straight forward, I started by adding an ocean simulation, and then expanding the scene with more ships, effects, weather systems, and animations.
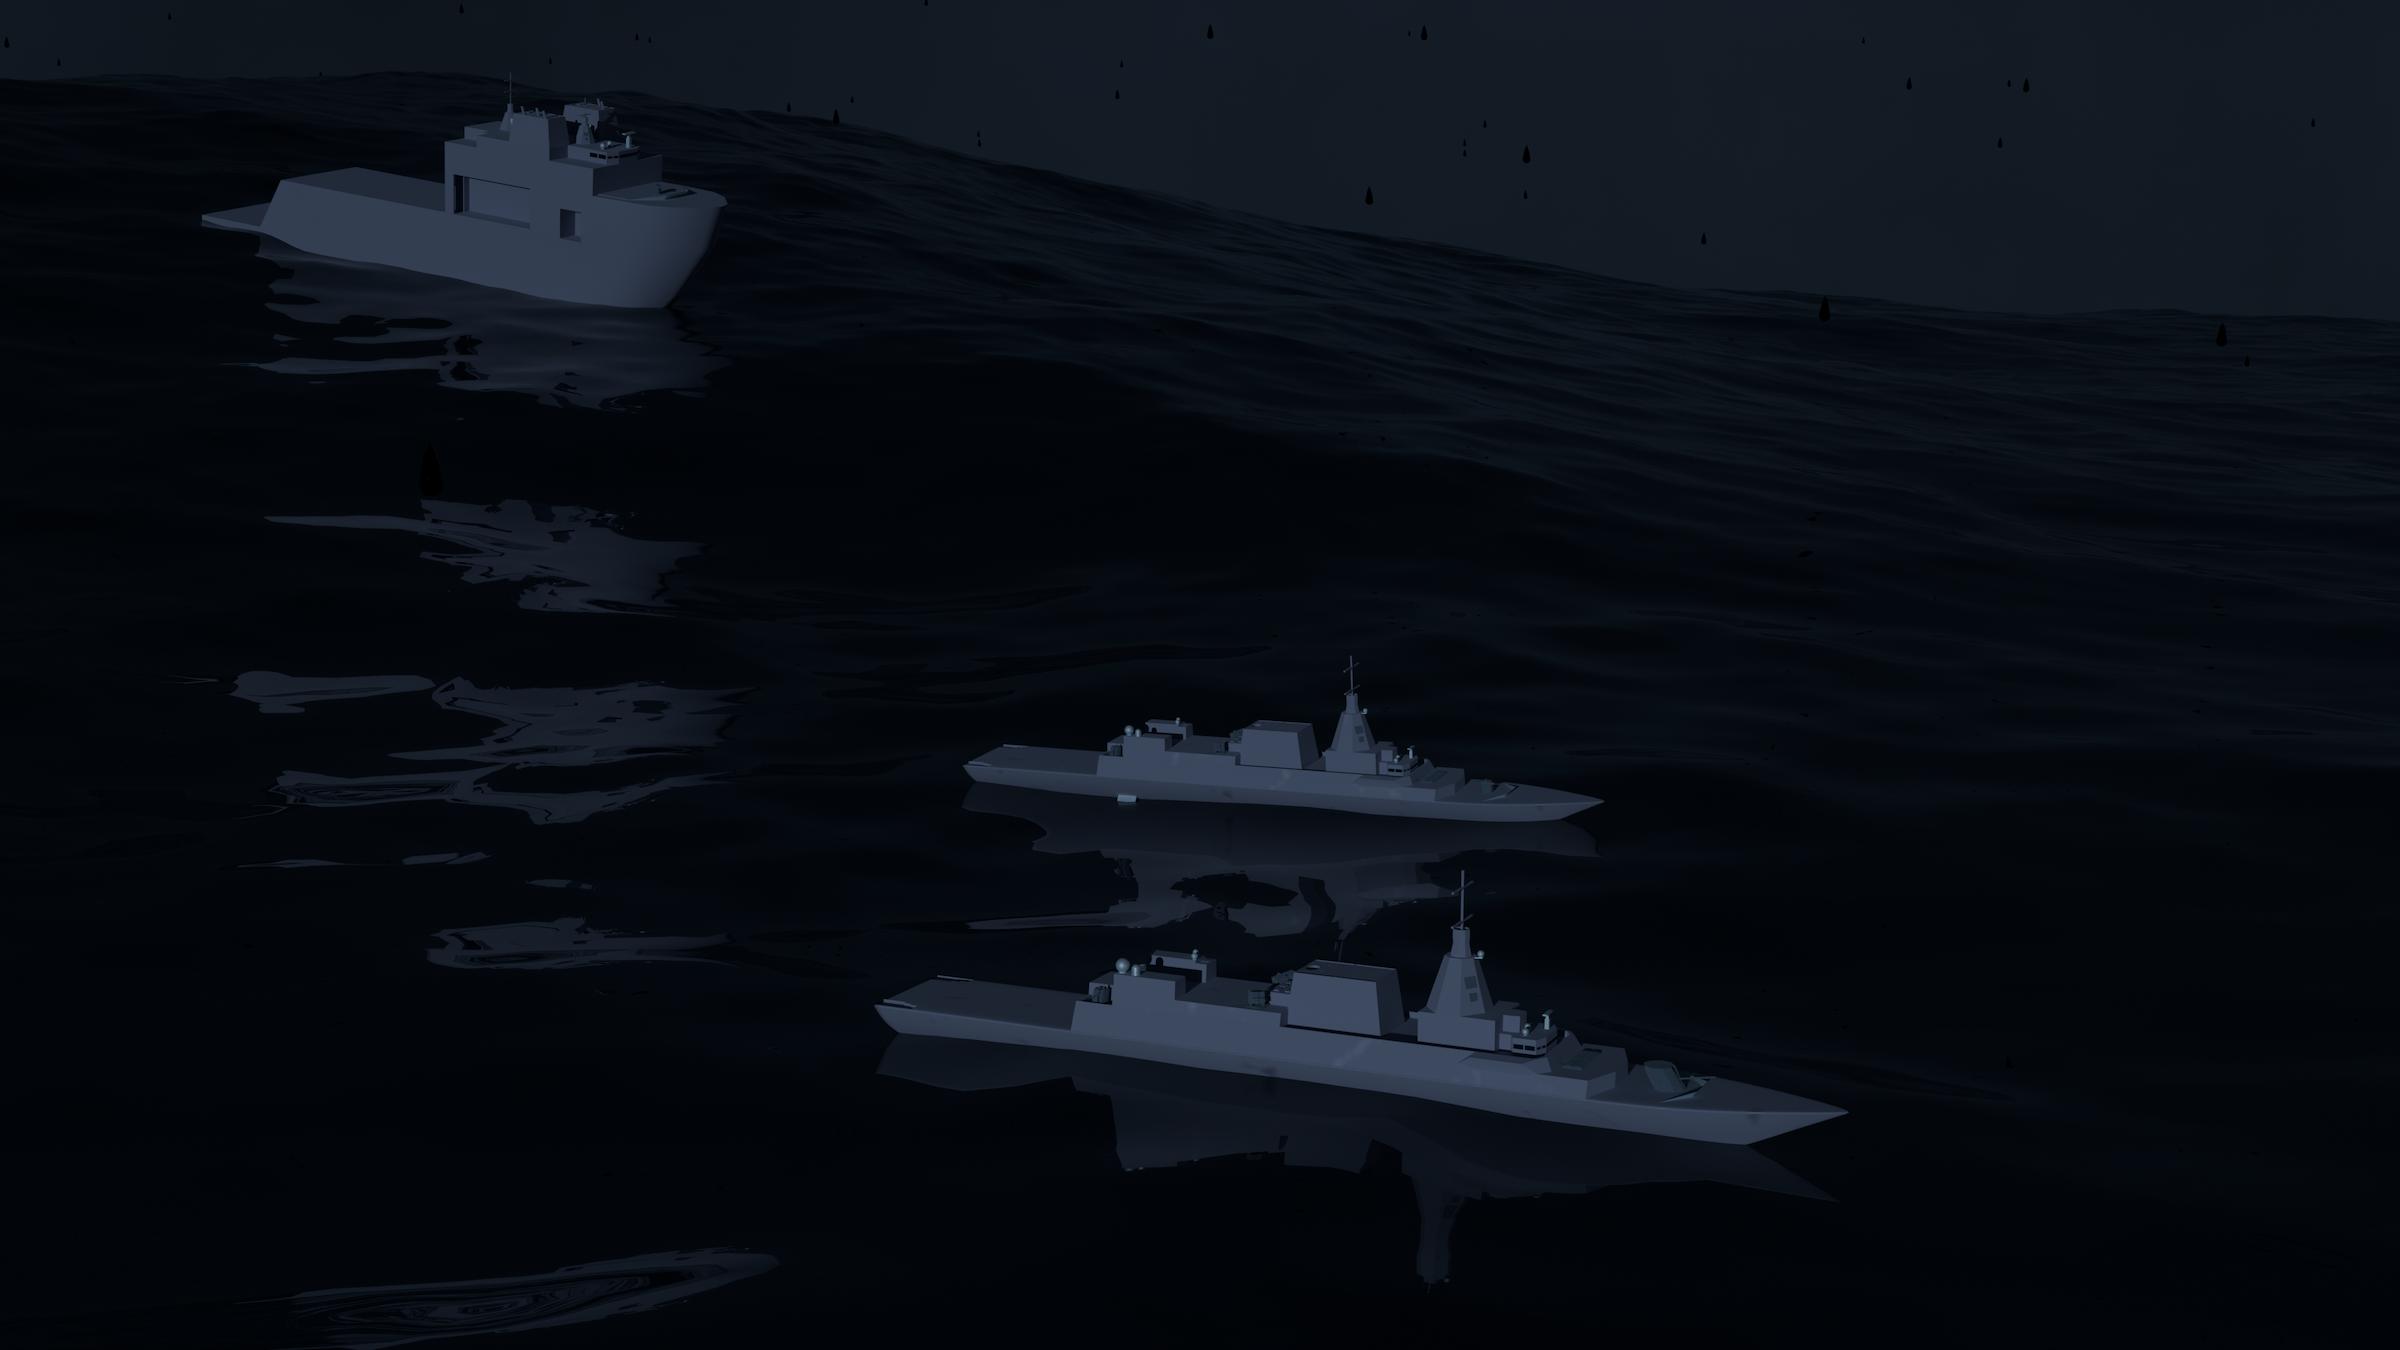
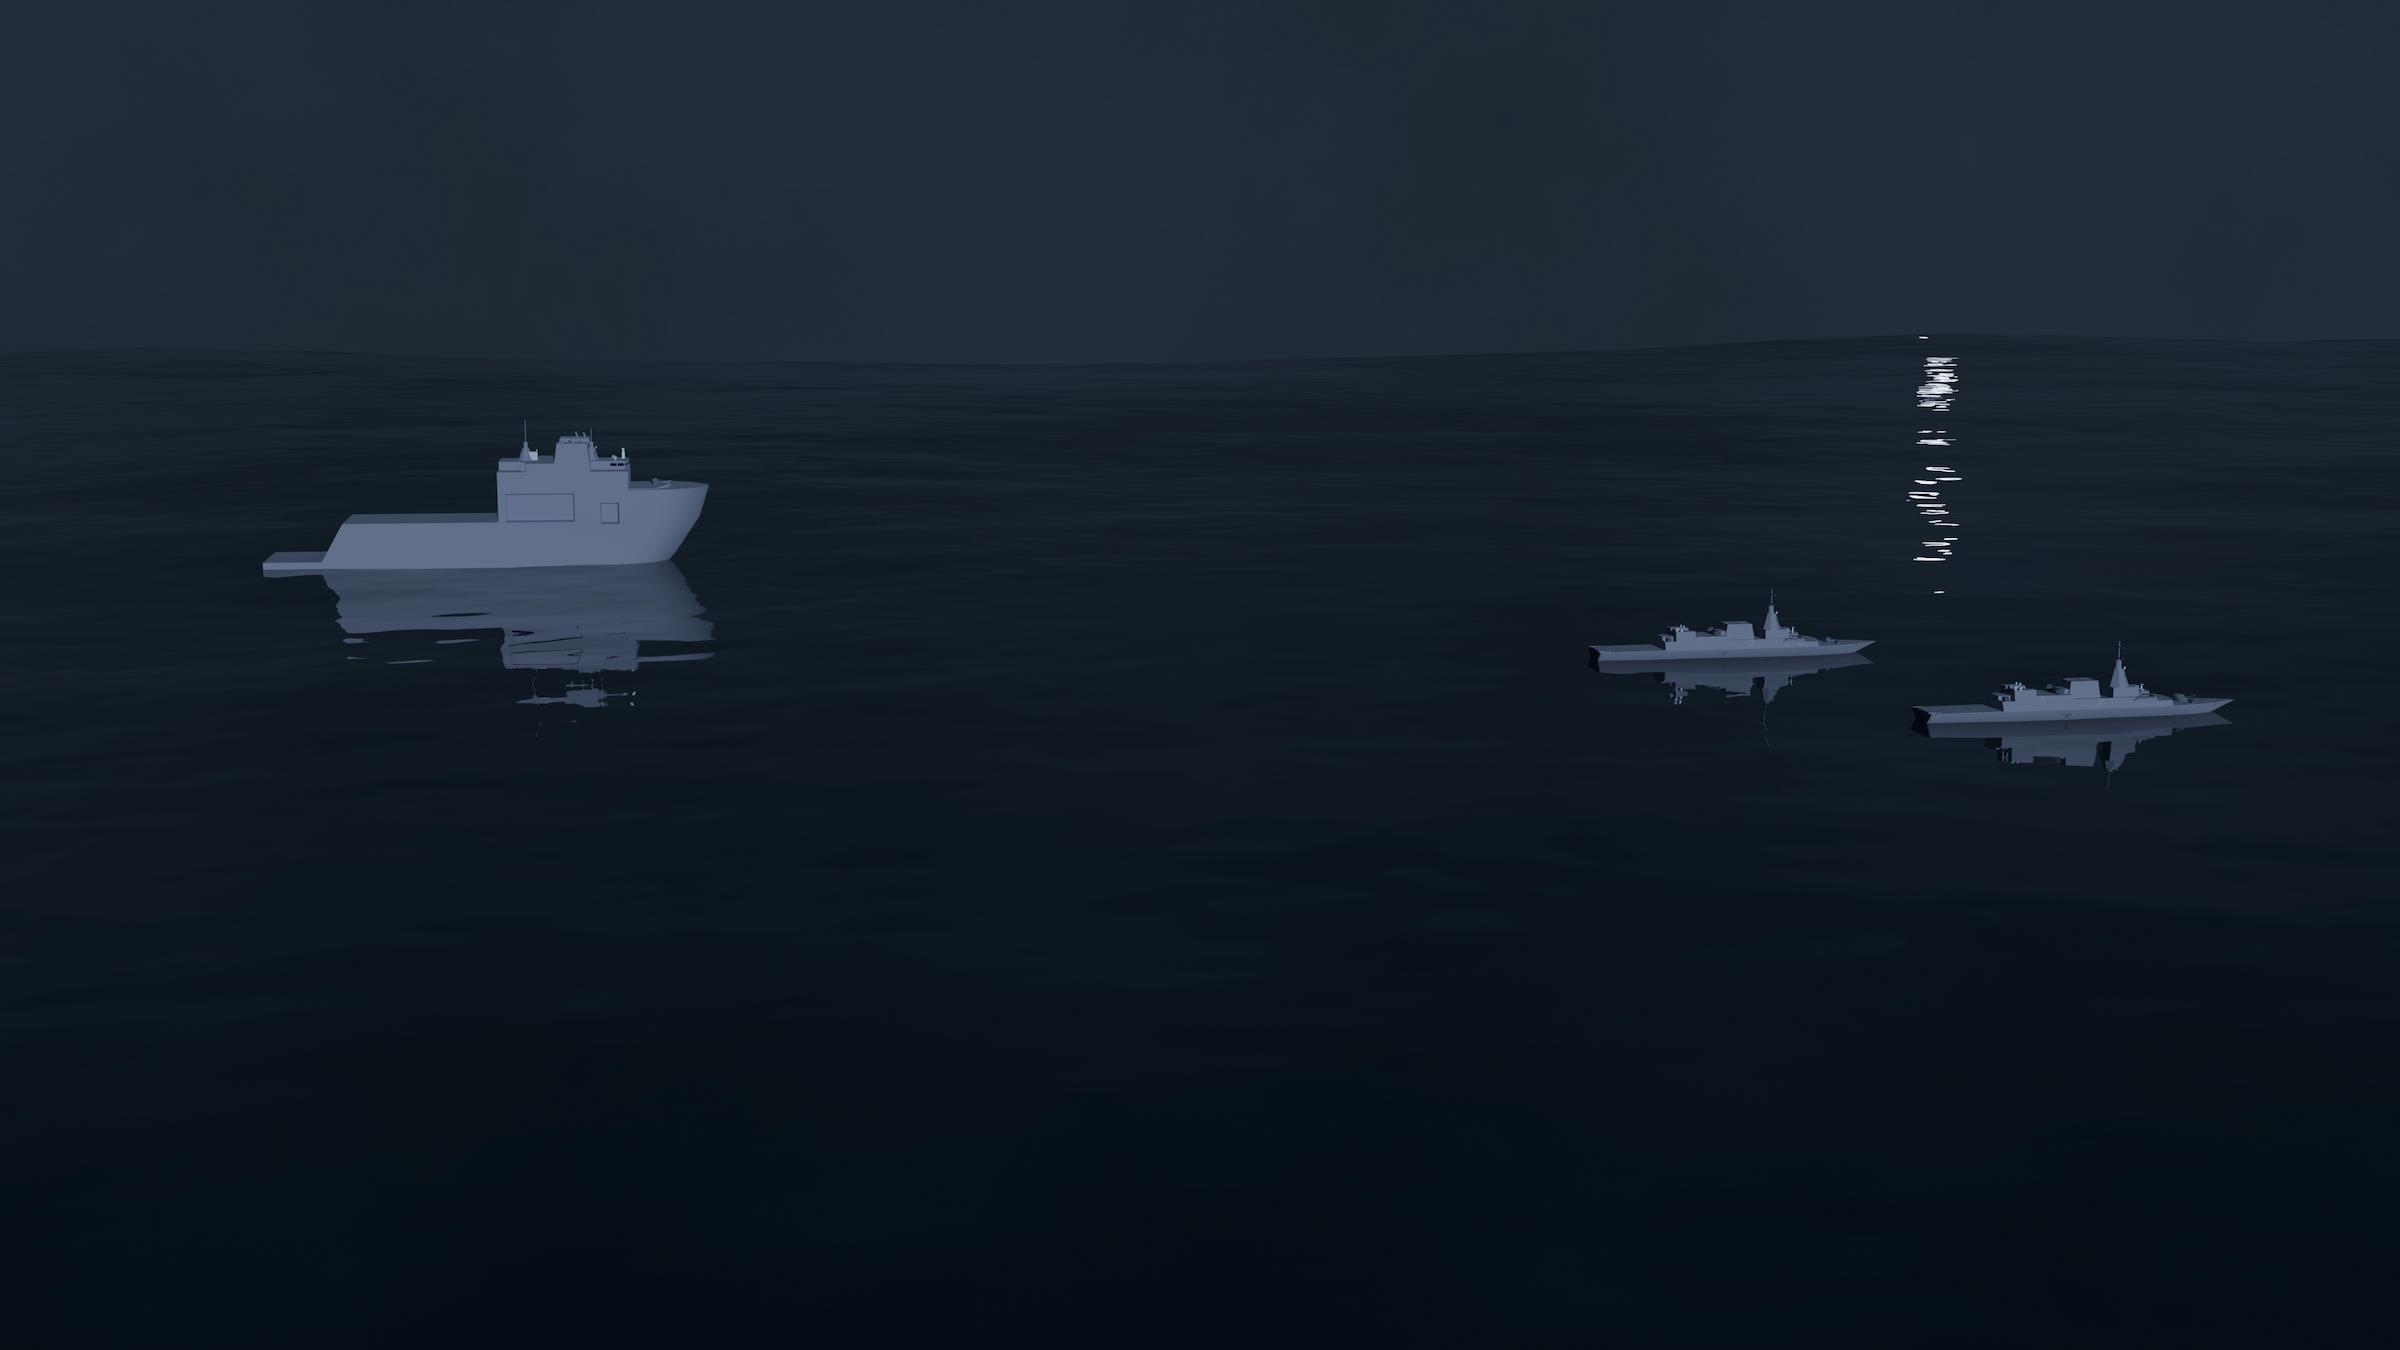
The final outcome was a short, 5 second cinematic video showing three ships riding a stormy ocean scene, with fog and rain.
Foundation
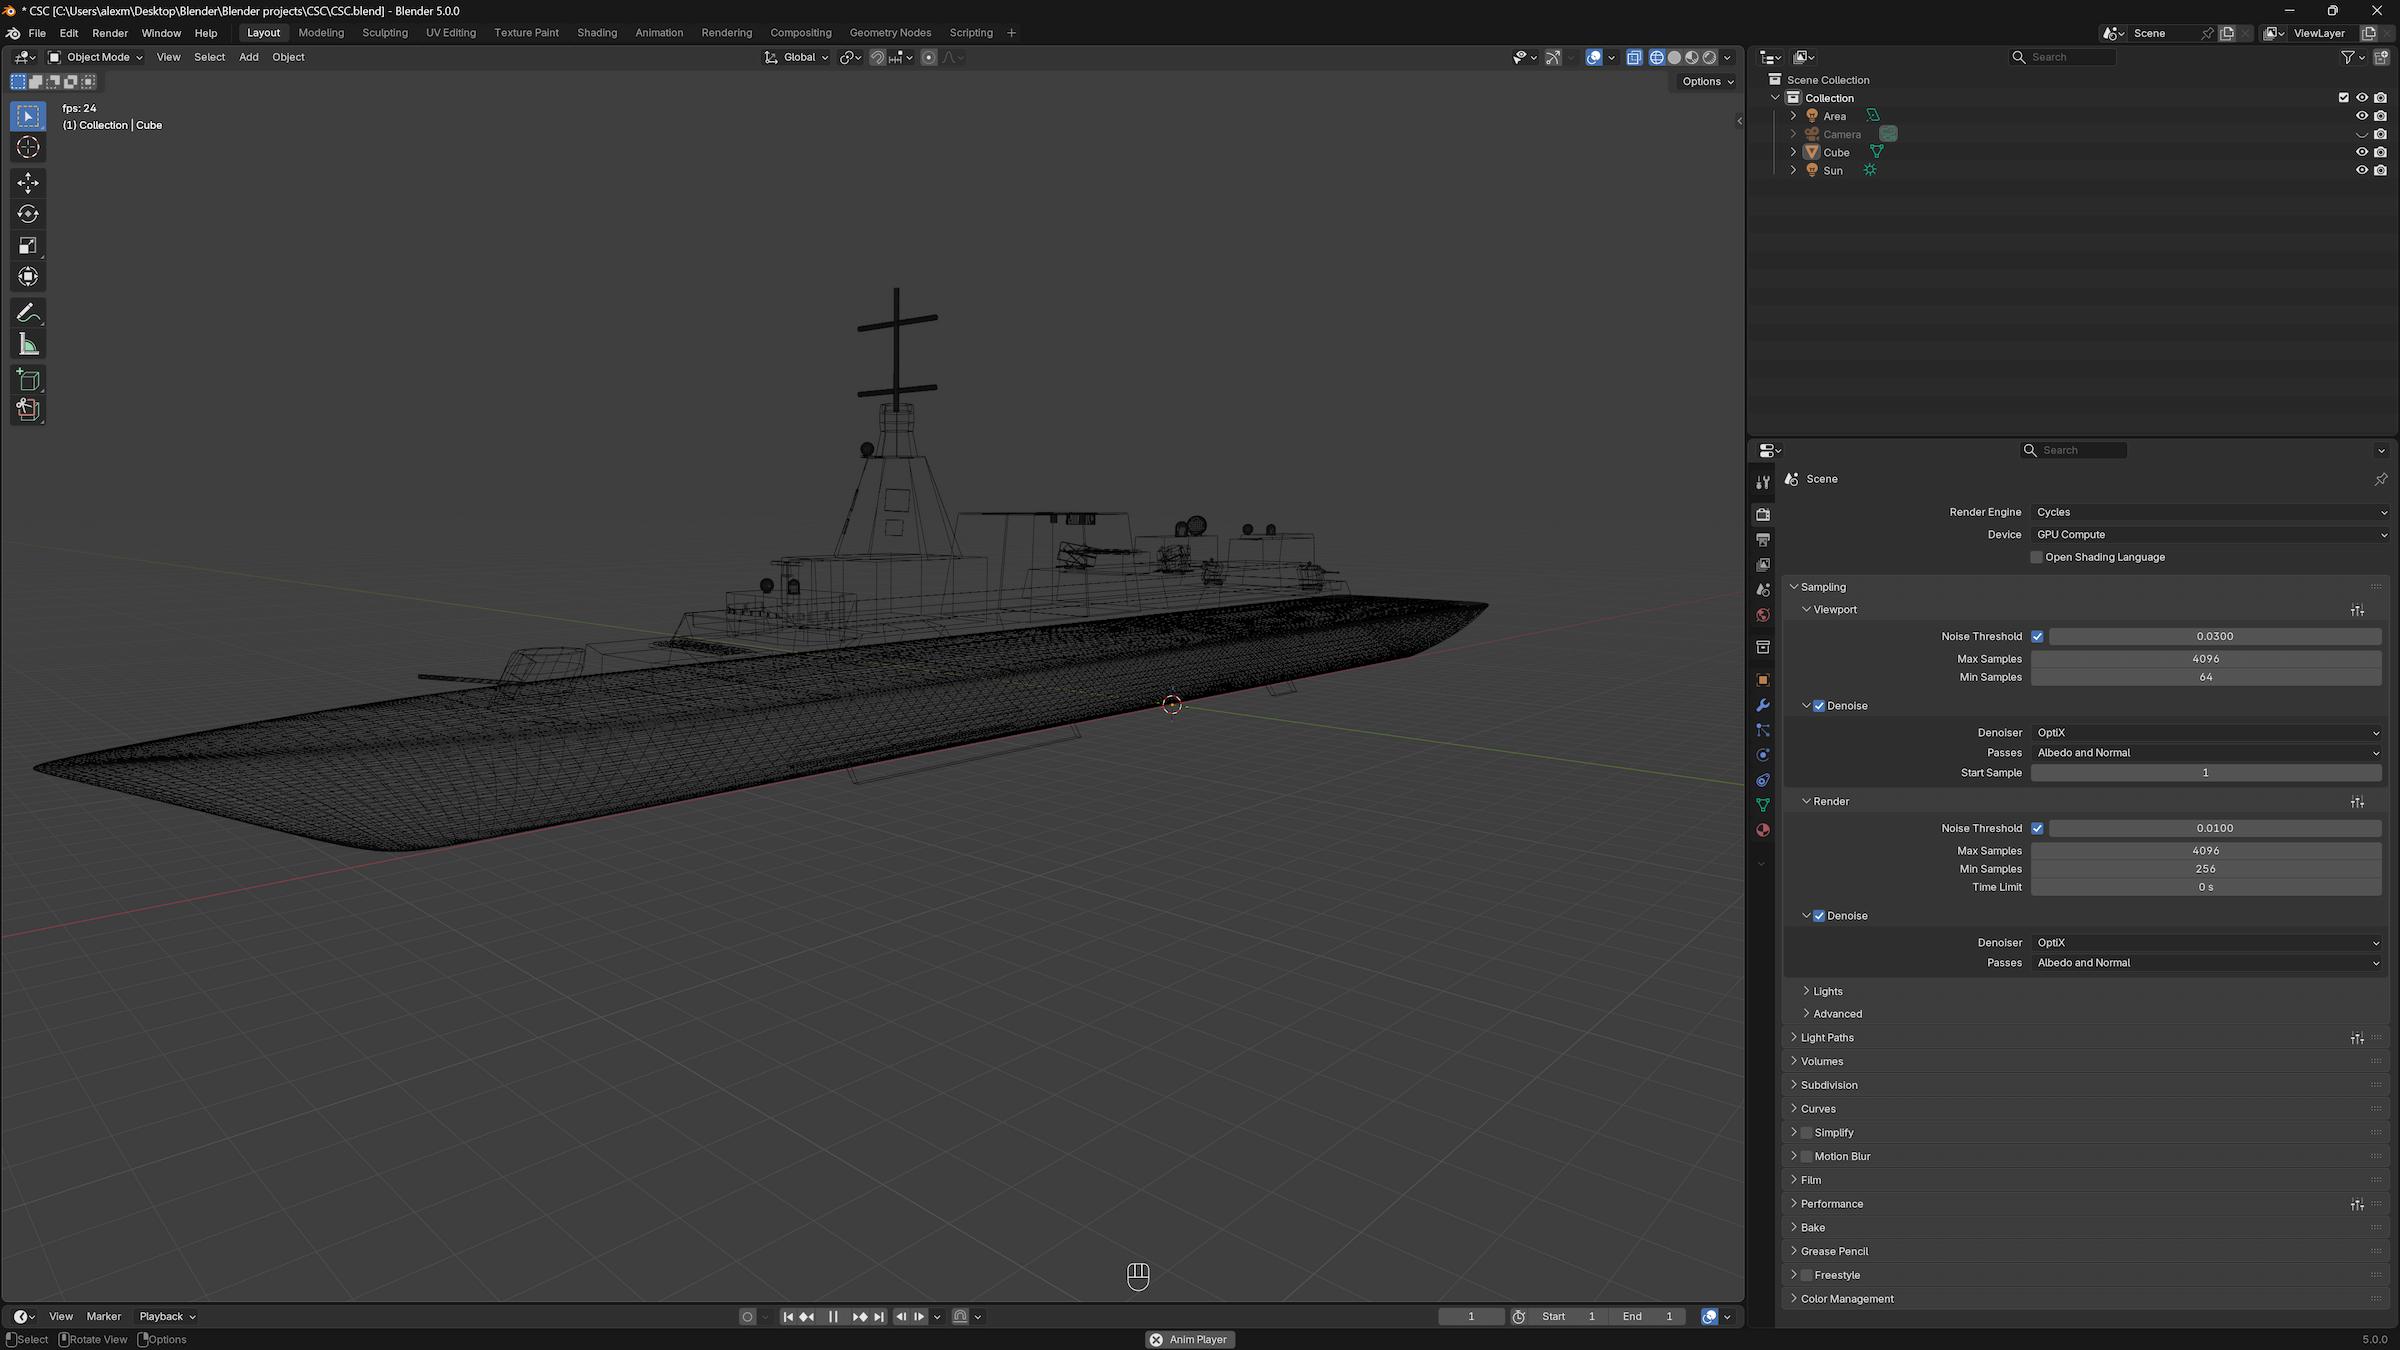
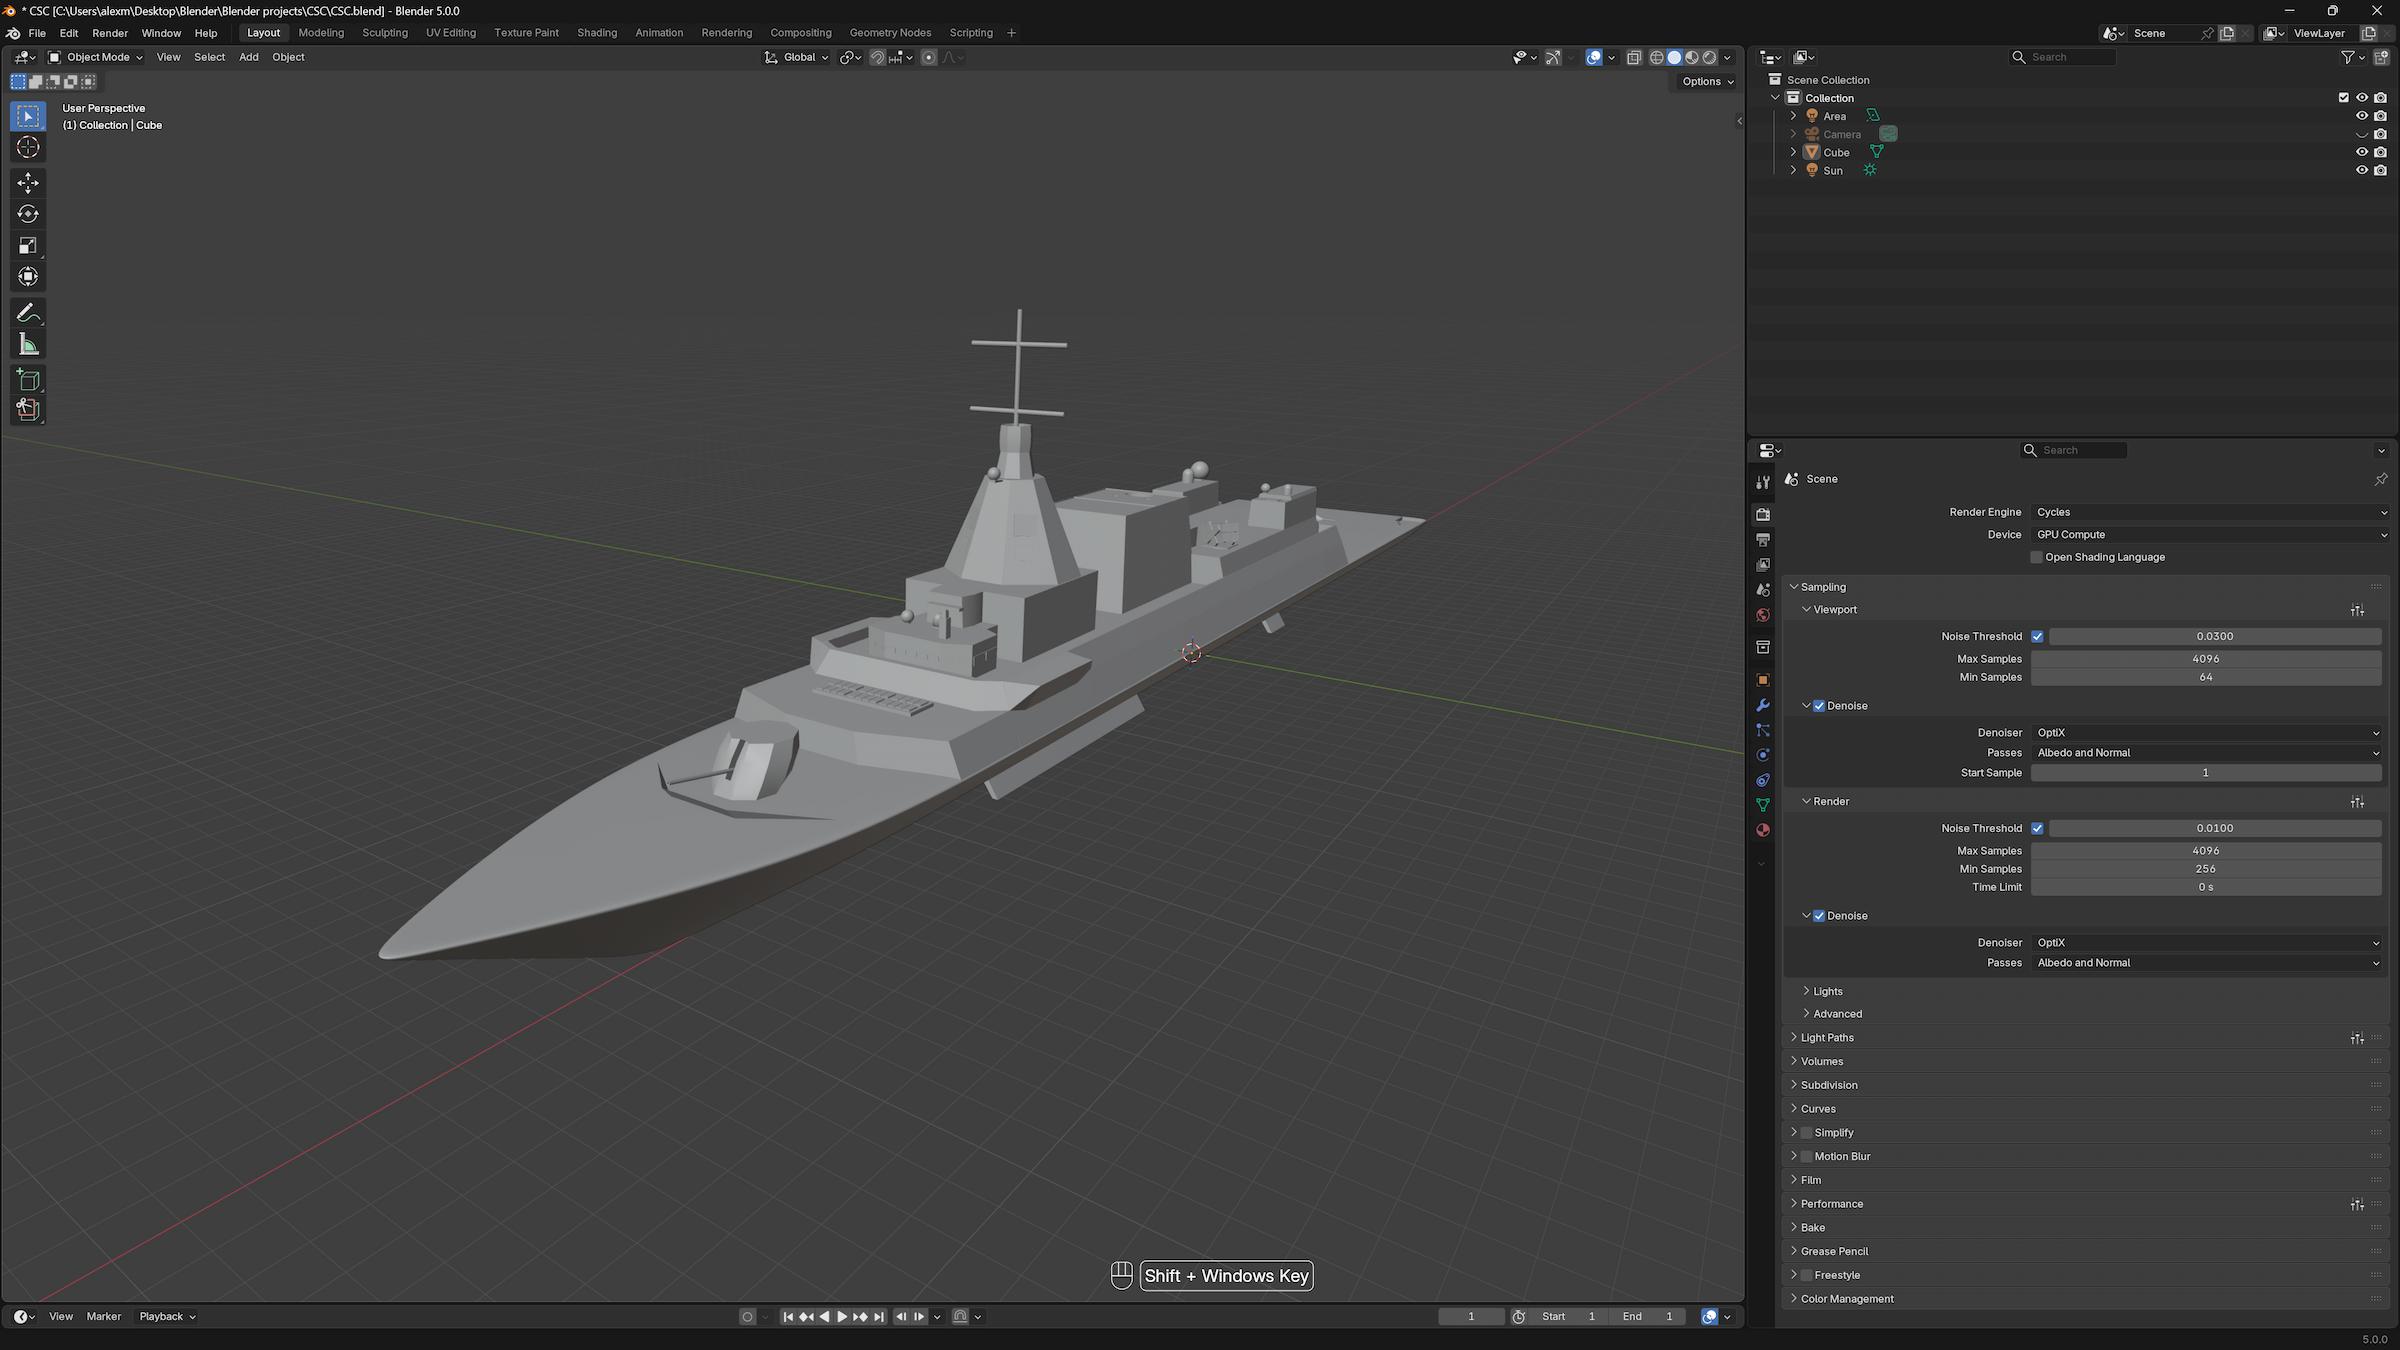
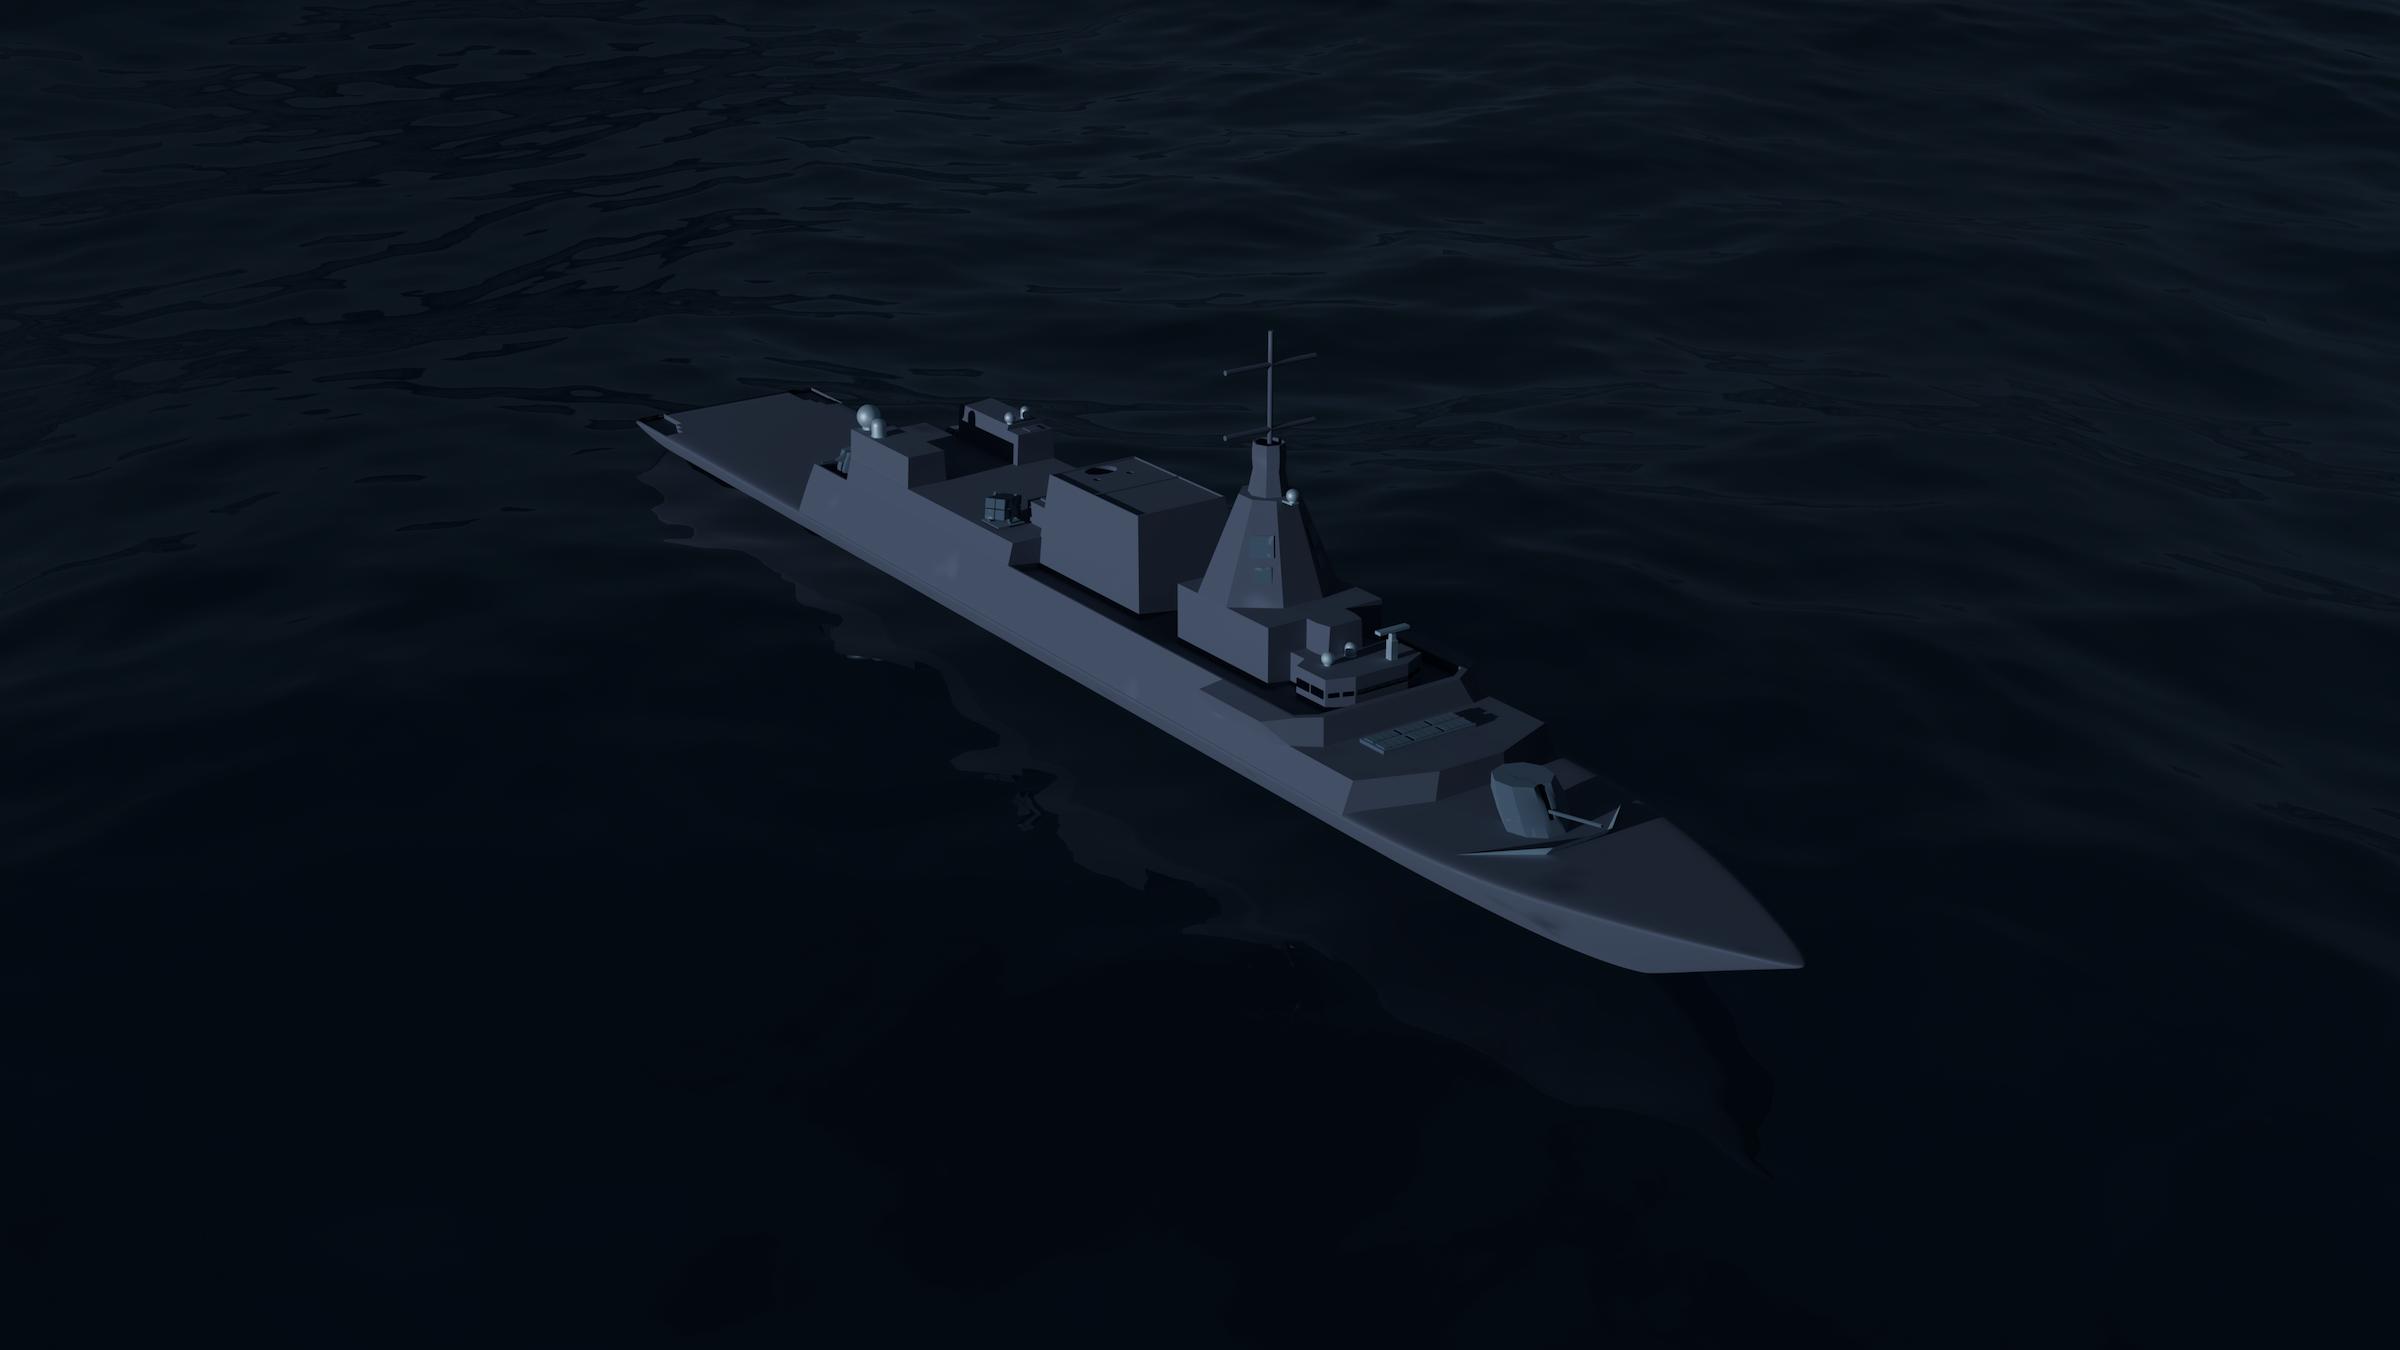
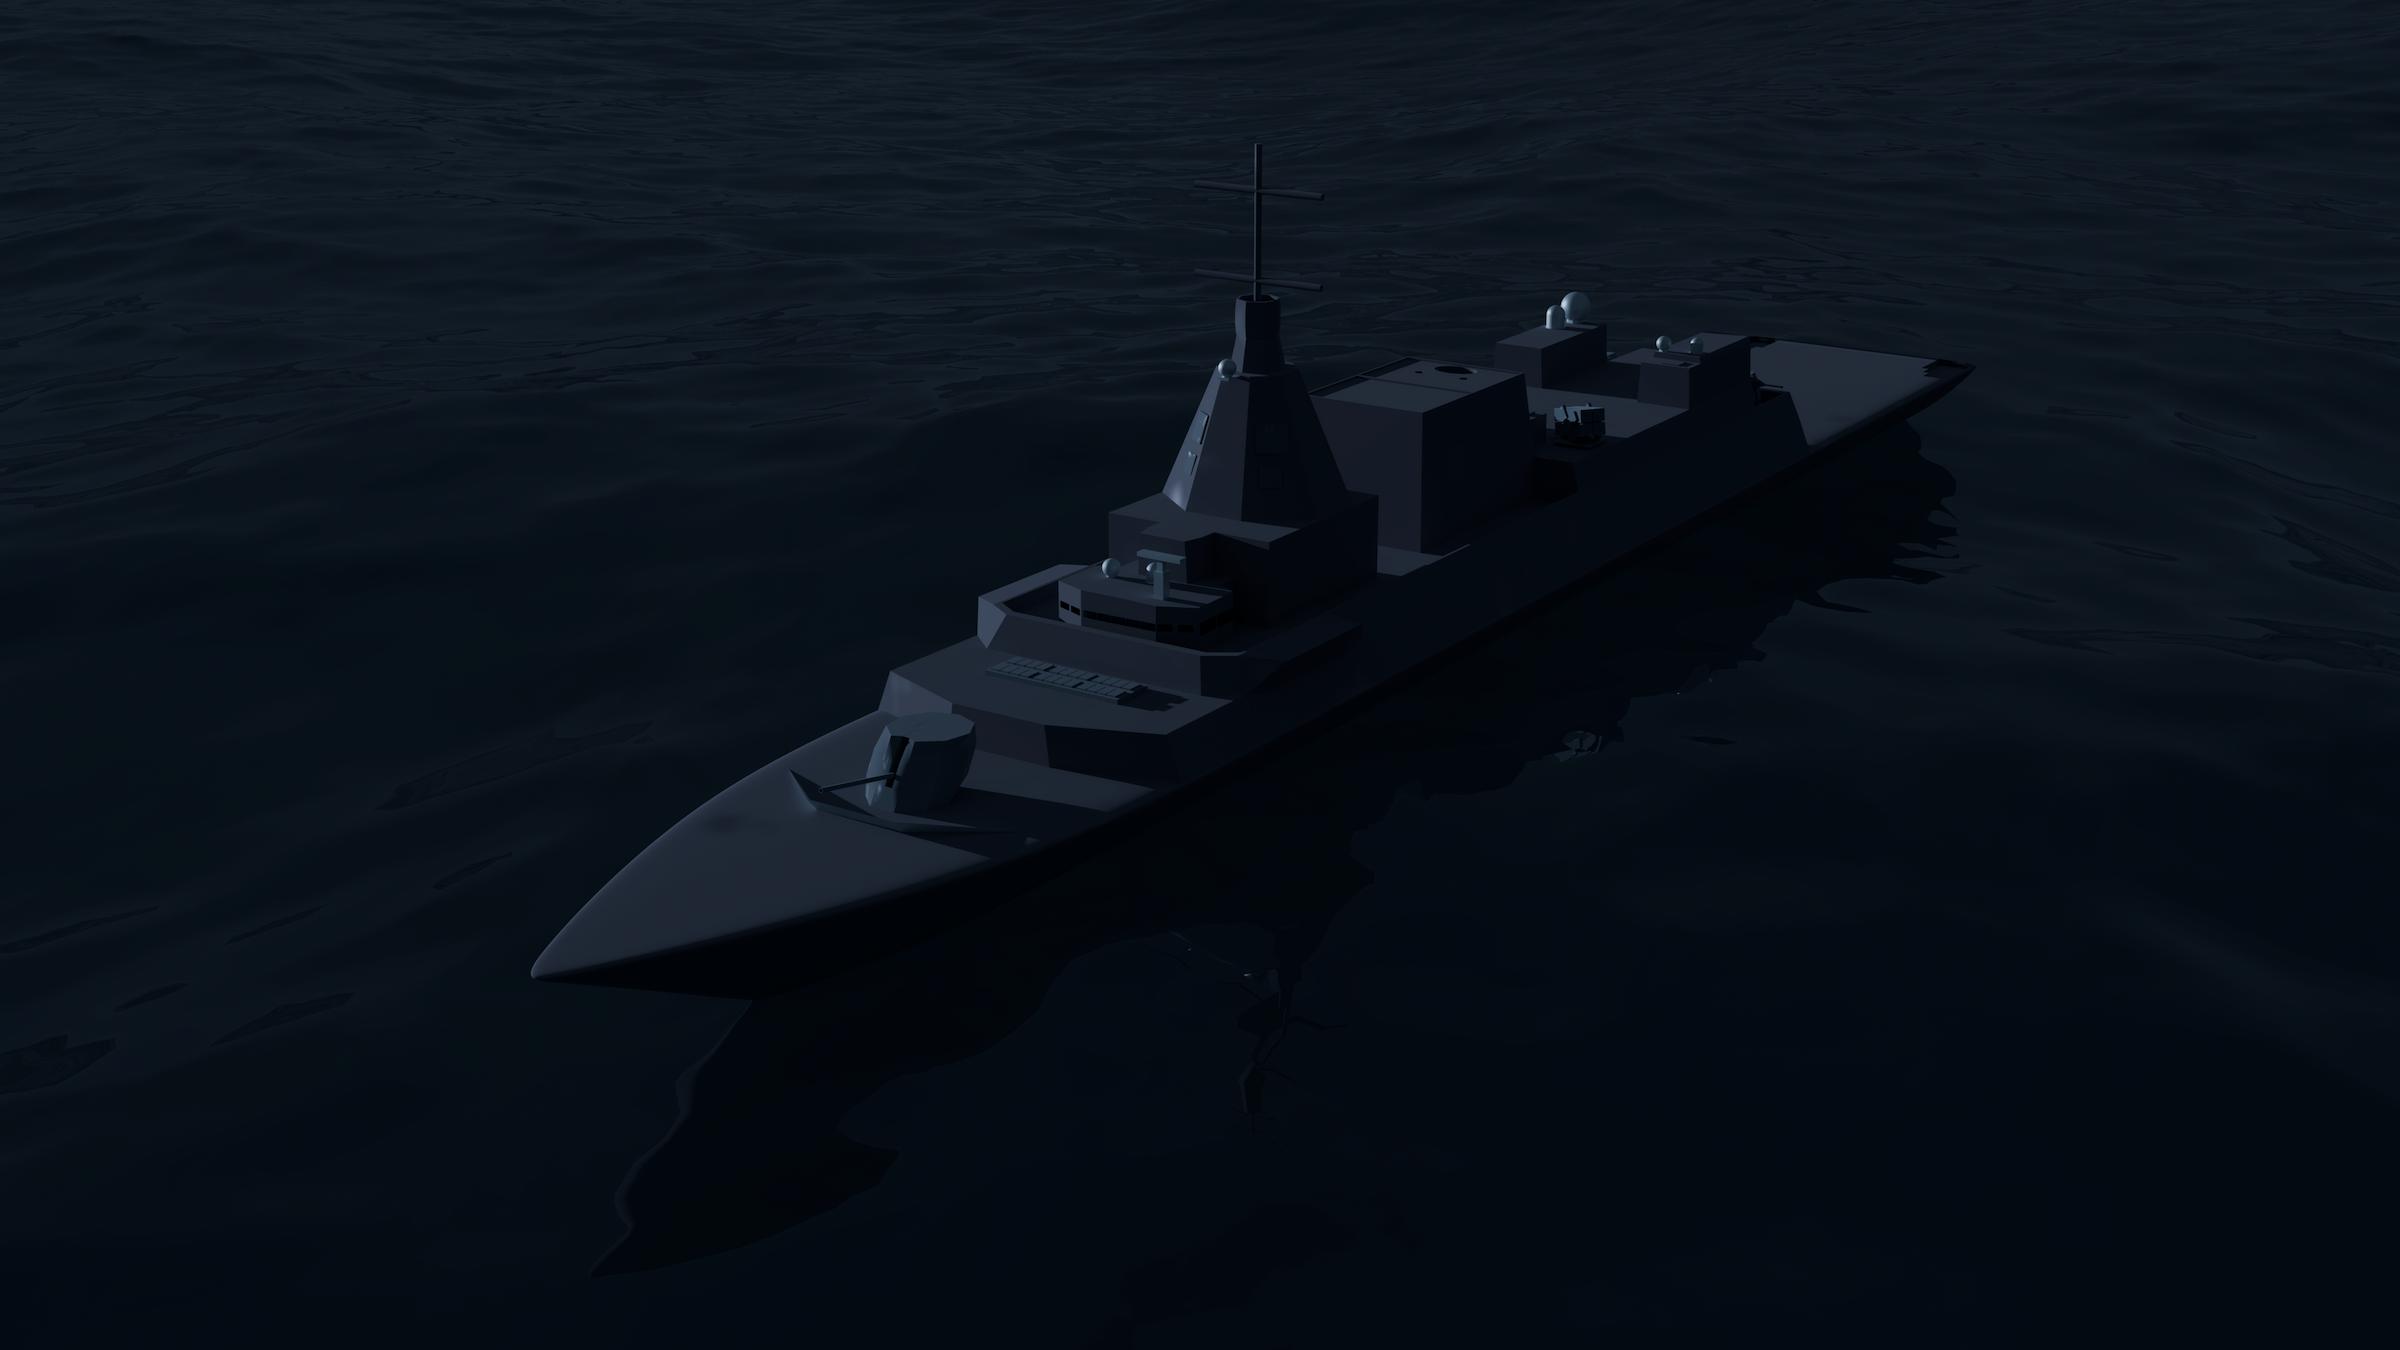
The first step to my project was defining my settings. I tinkered with OBS Studio to fully make efficient use of my hardware by utilizing NVENC (NVIDIA Encoder) to offload video encoding from my CPU to my GPU, this frees my system resources when doing CPU heavy tasks like calculating simulations and physics. The images shown are of the original ship asset before conversion. Including the standard and skeleton views. Standard view shows how the ship looks in a standard setting, while Skeleton view shows the composition of the ship, the “how it’s made.”
Production: The Ocean
This was the first step in my production. I decided to do the ocean first, because it set the mood and direction for what I would be able to do. I thought about doing the ship first, but that would cause imbalance with the lighting, positions, scale and overall atmosphere of the scene, increasing the likelihood of me having to make major reforms later.
Creating the ocean first set the foundation for the scene, and established what I could do from a creative perspective, and remain comfortably within the range of what my hardware was capable of.
For the ocean. I tried to emulate the Atlantic Ocean, specifically the Winter intensity of the North Atlantic ocean. Massive waves with more clear and slight blue tinge to feel colder.
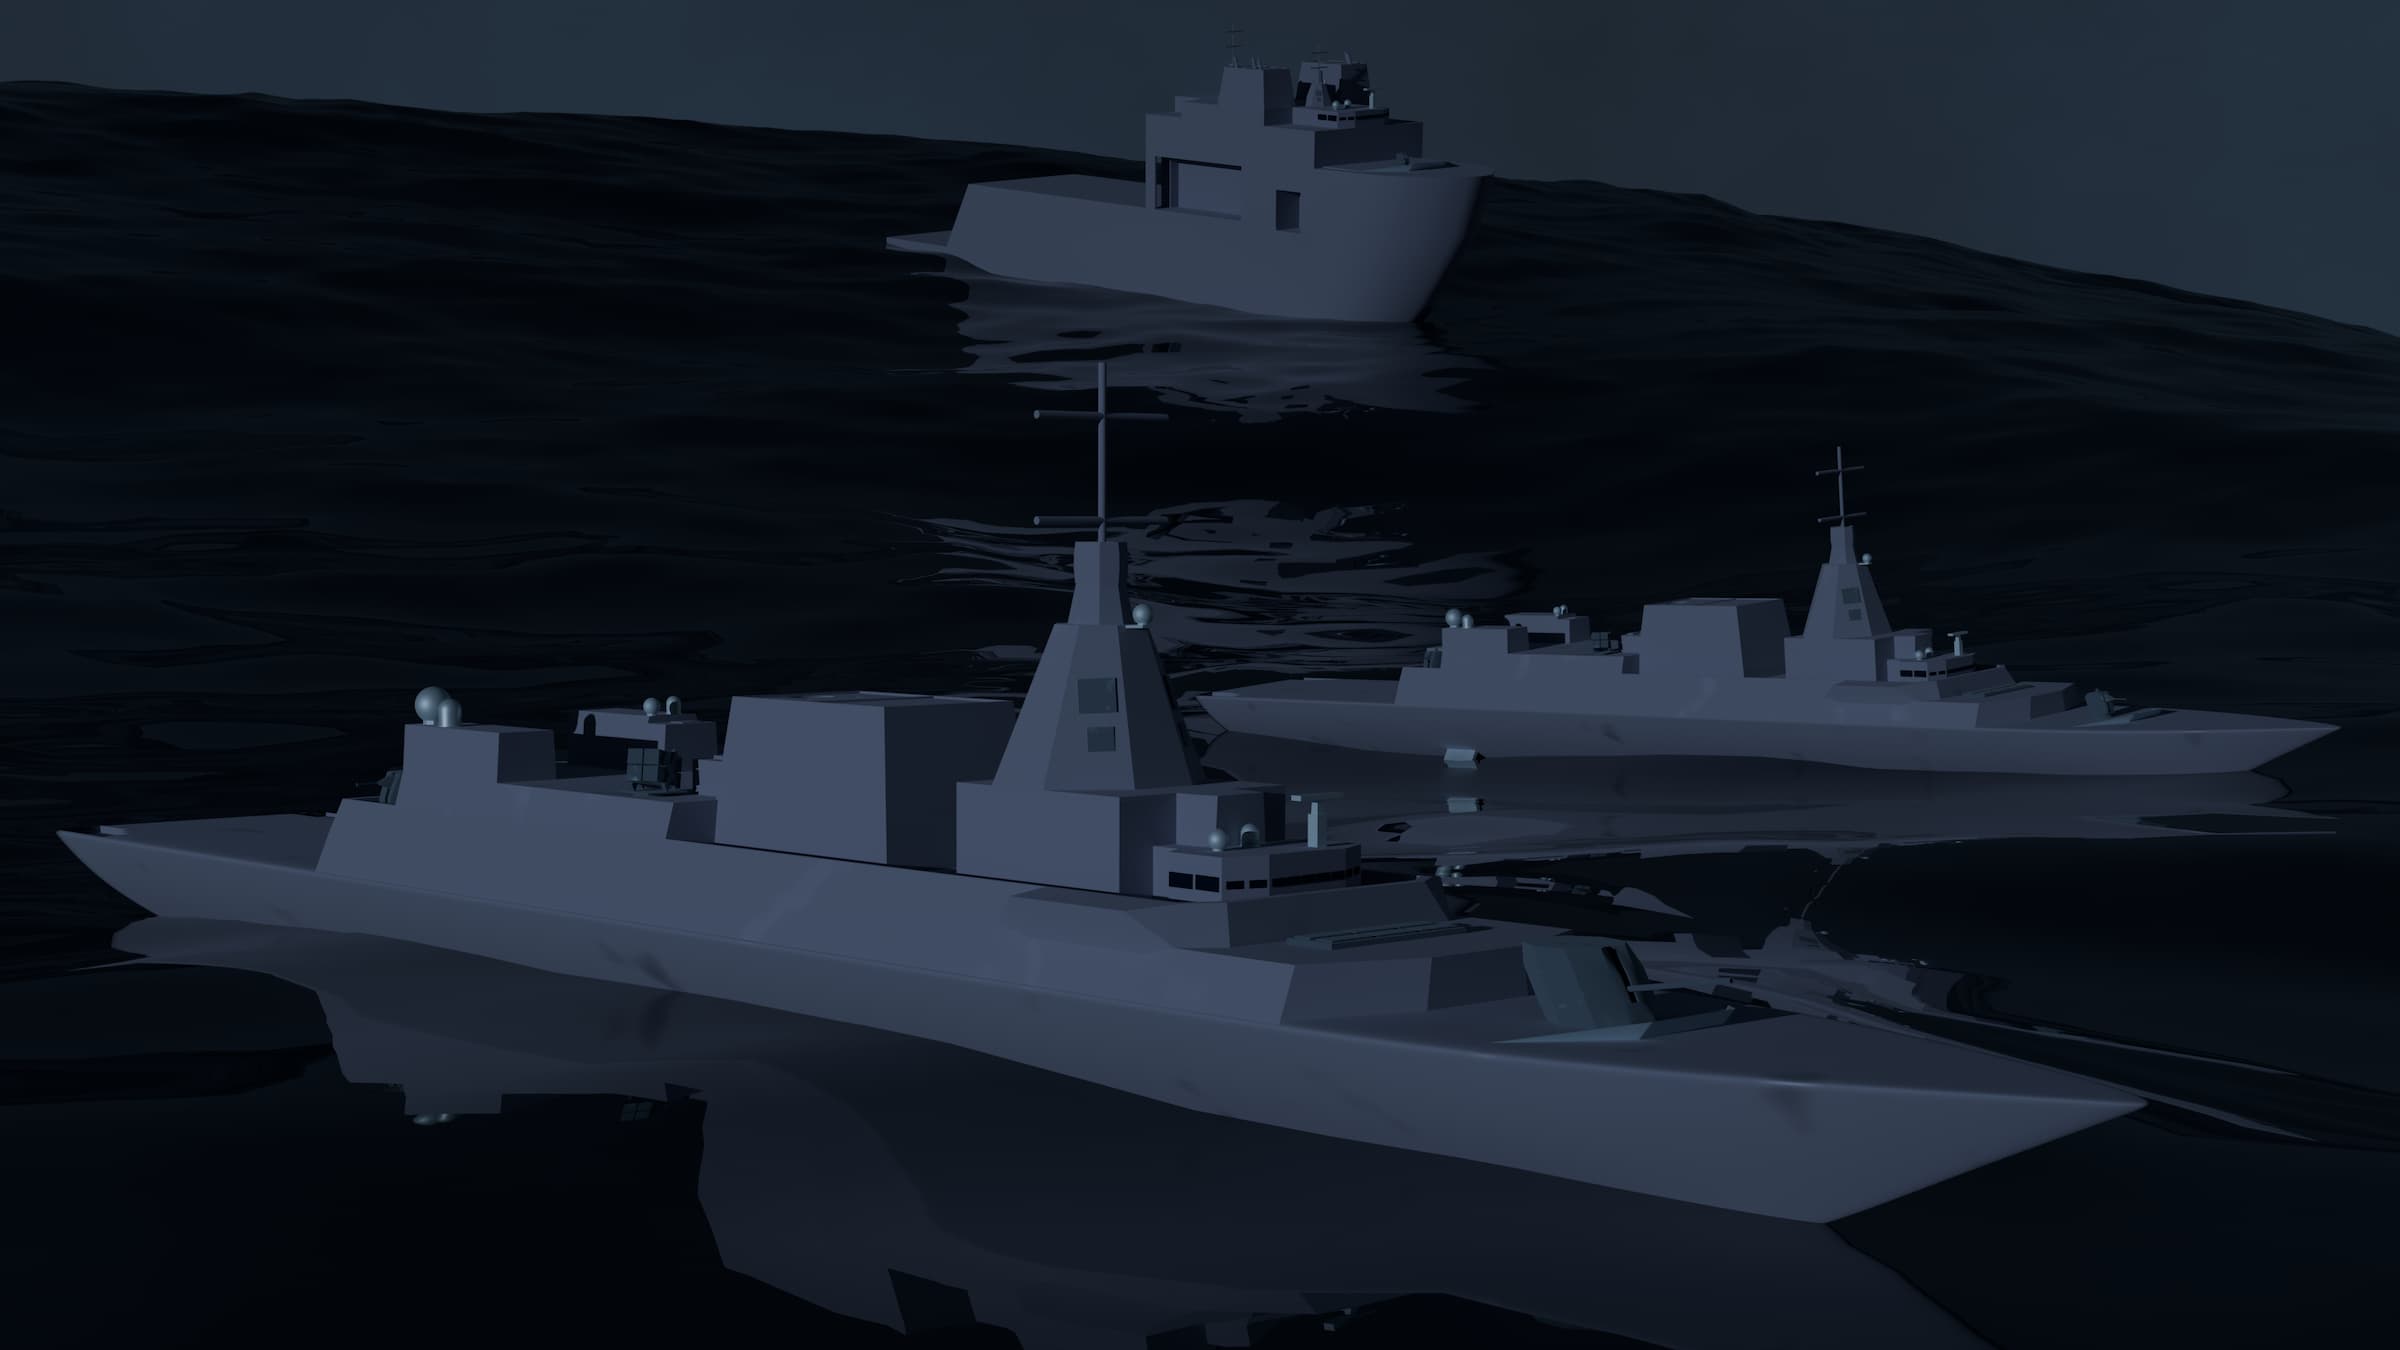
Production: Expansion
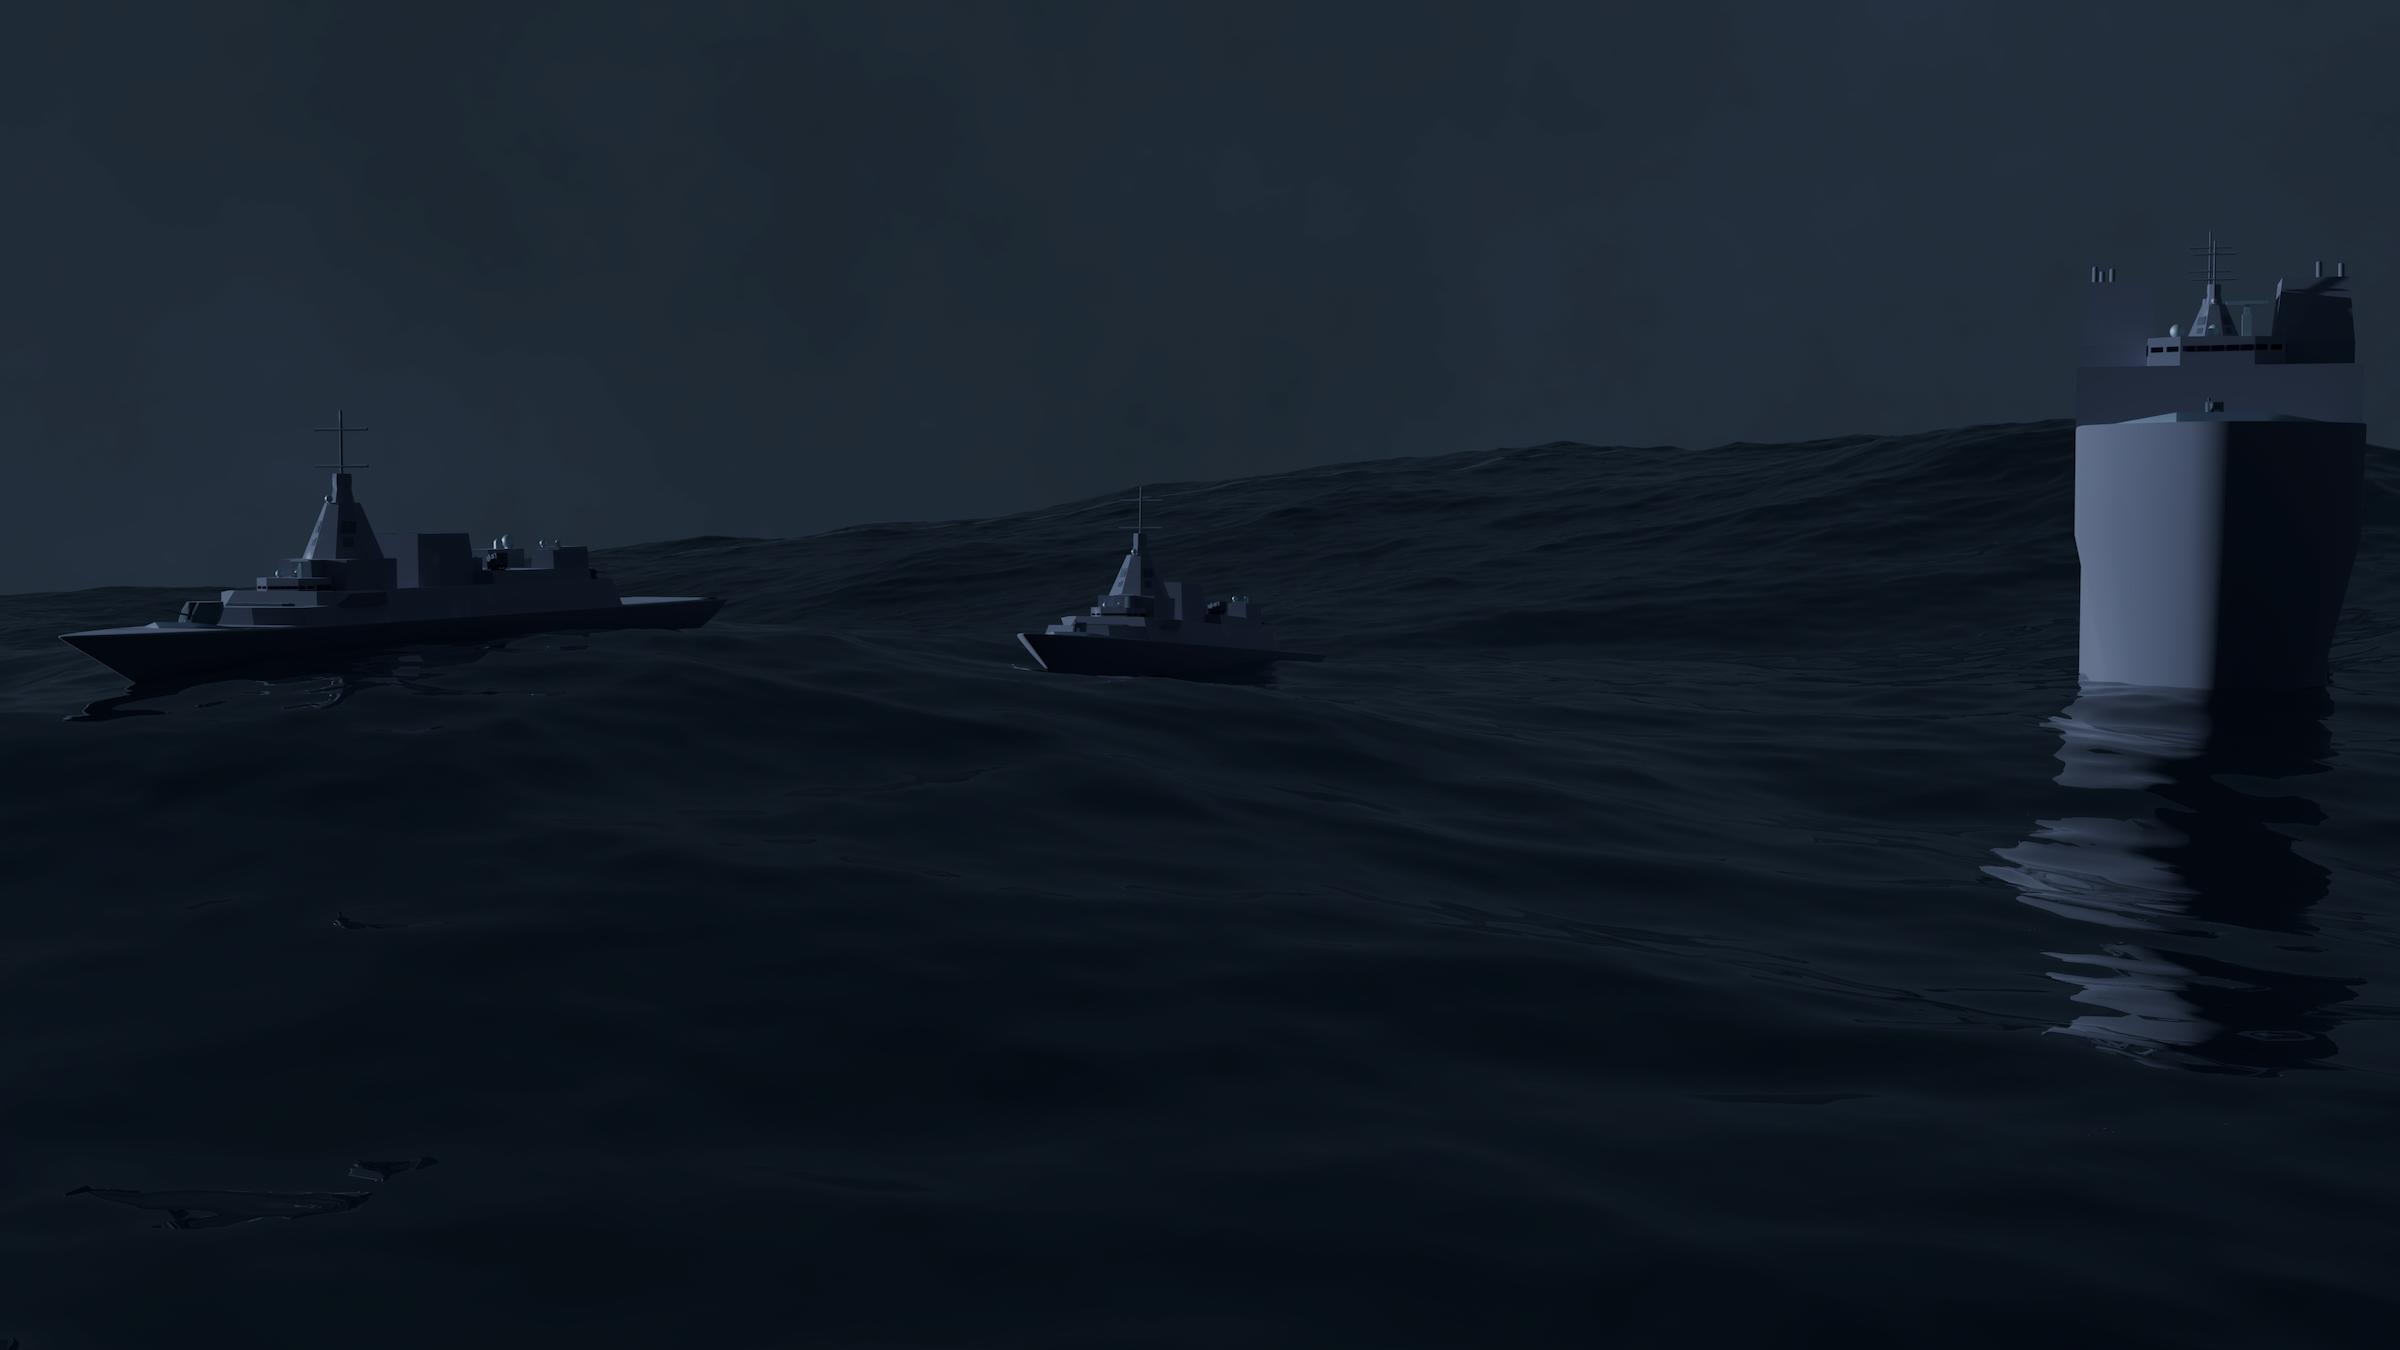
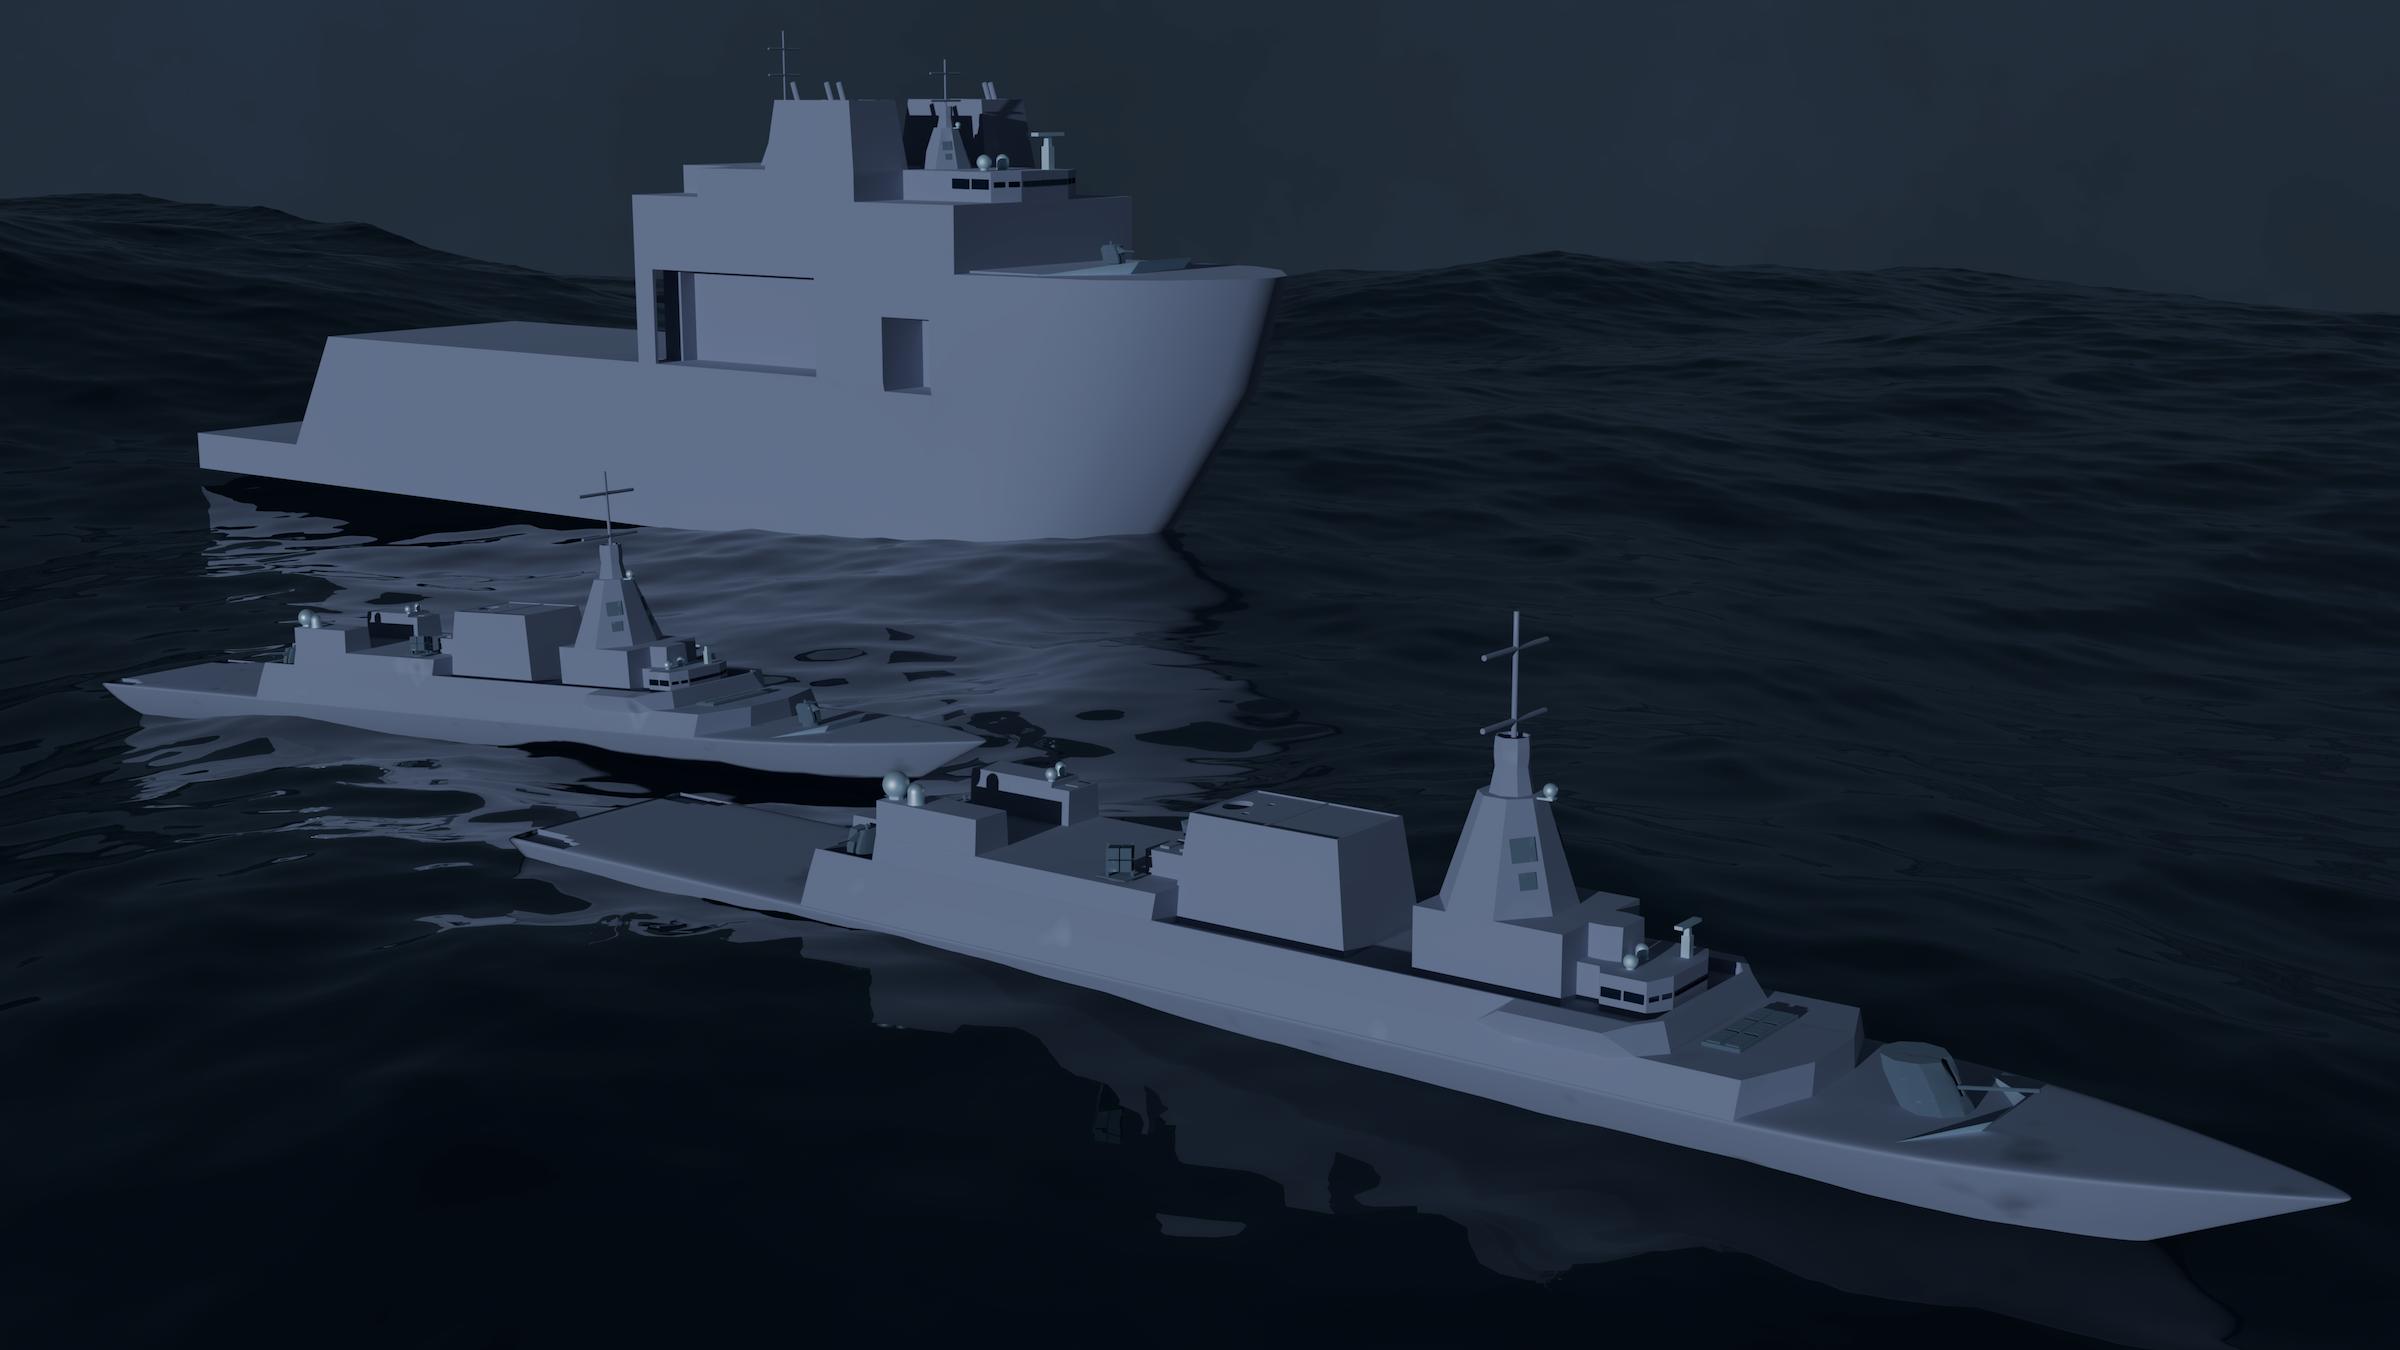
This was the step where I took everything from the previous step and expanded. I added two more ships and did some staging with positioning and lighting. I tried to make the ships react to the waves realistically by just adjusting the rotation of my ships for the freeze frame. However, this was a temporary measure, and wouldn’t work for actual video simulations as the ships are static objects.
Production: Animation and Finishing Touches

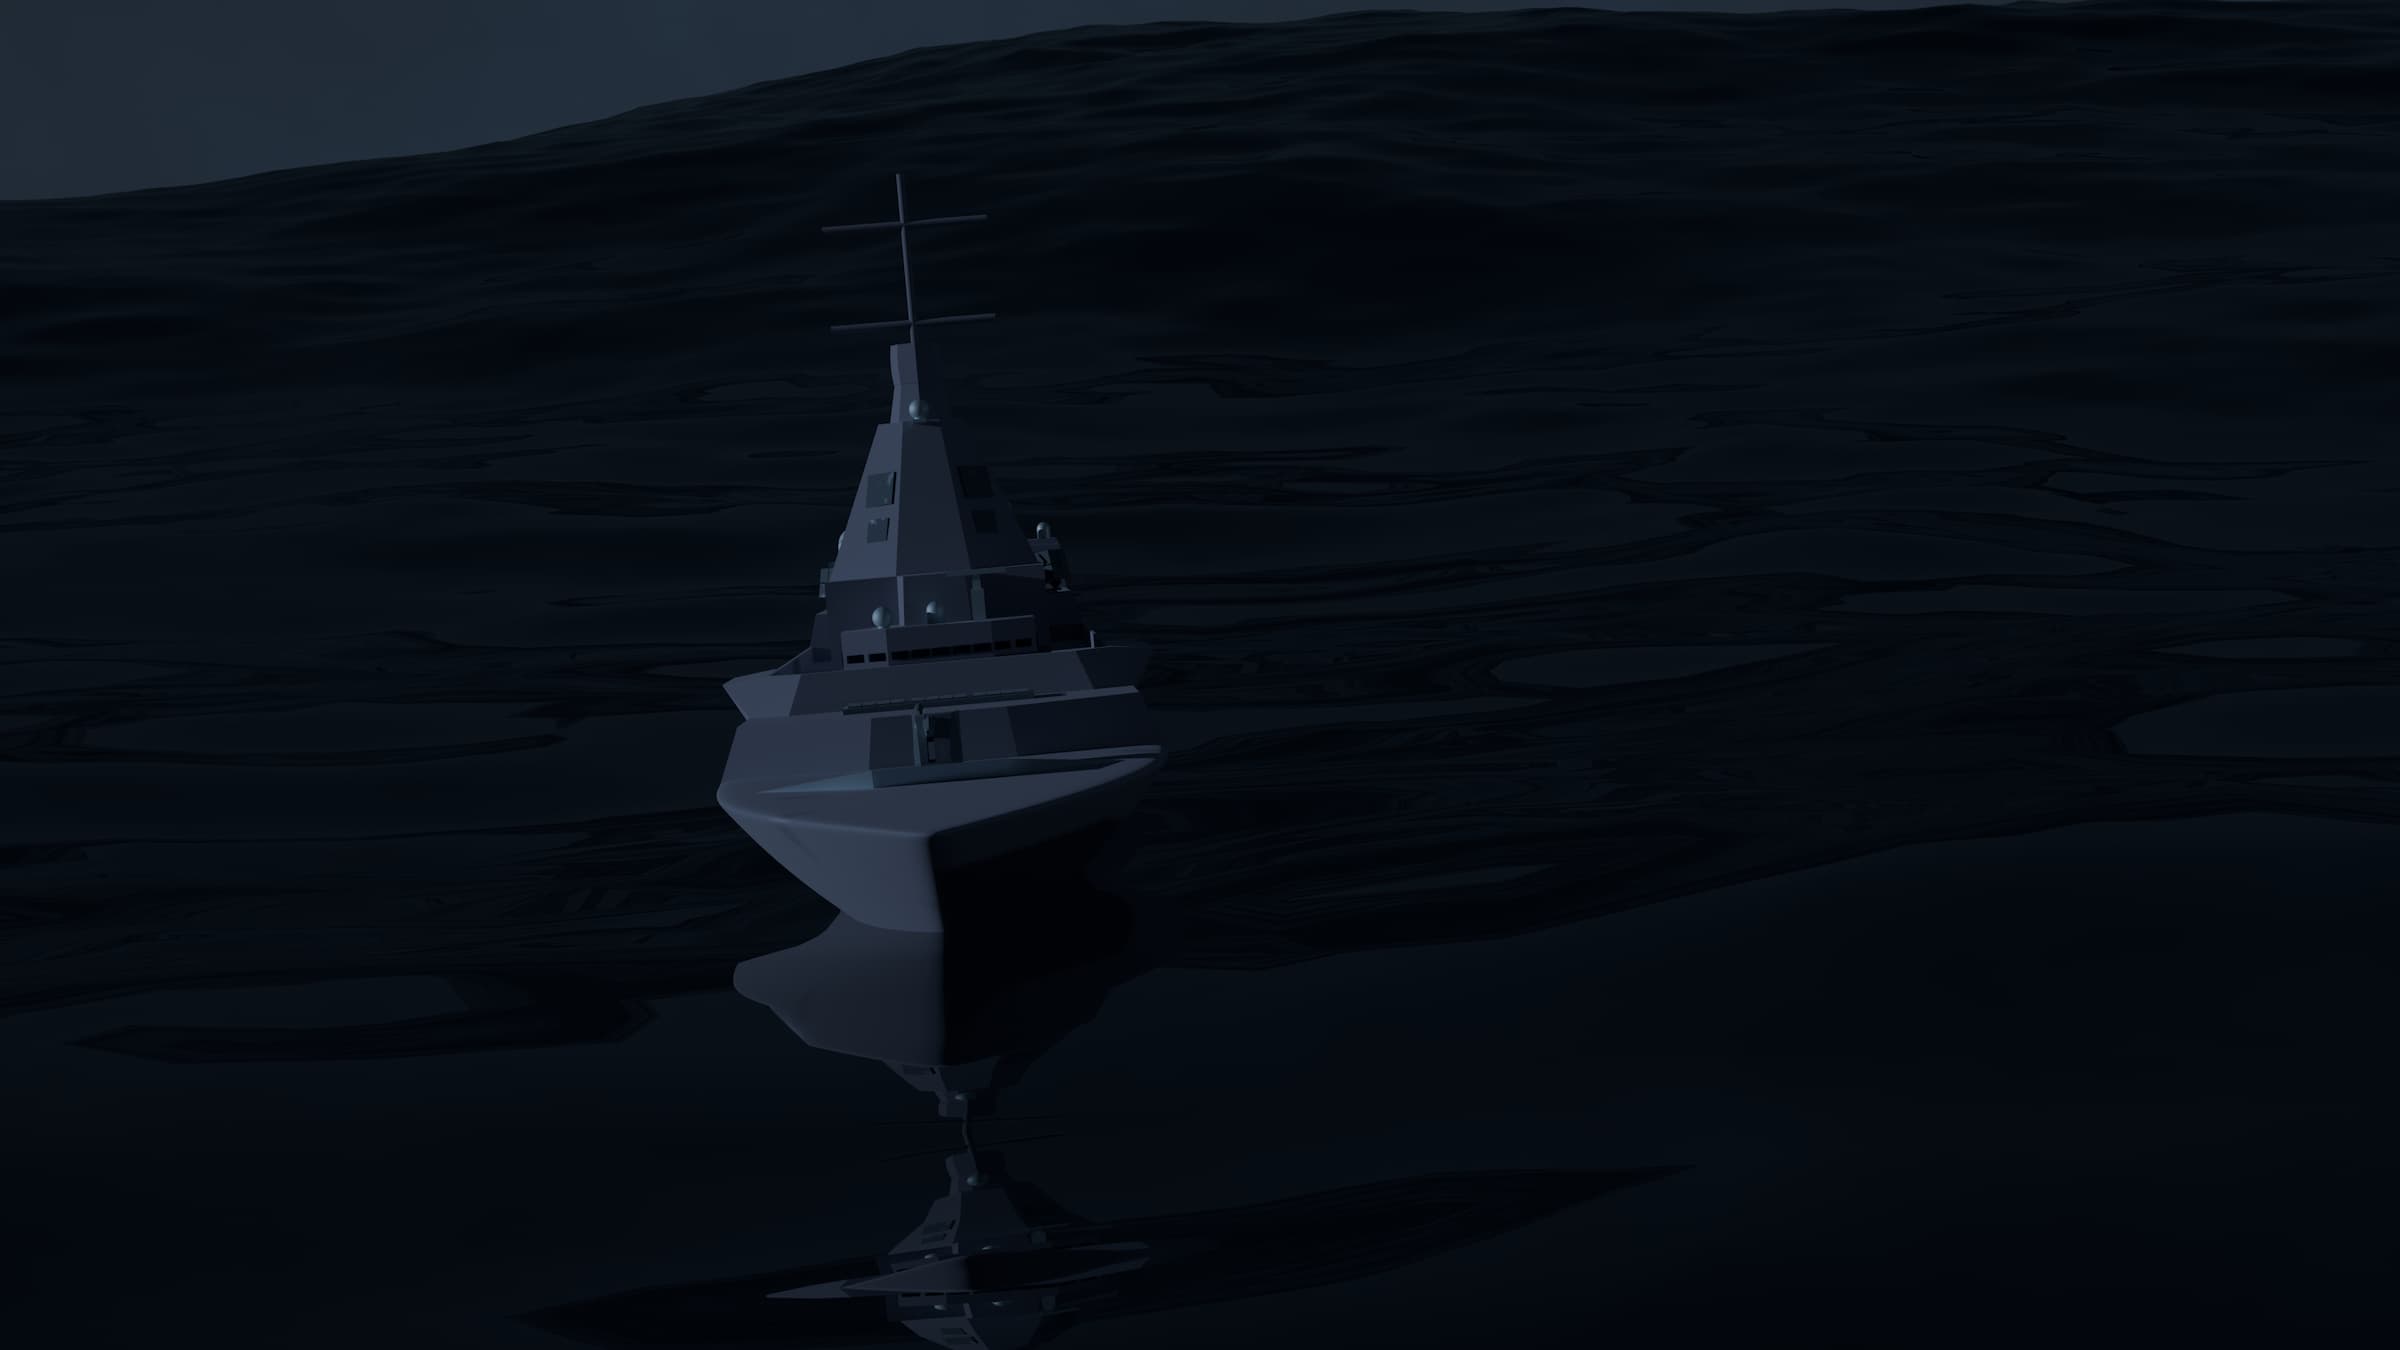
Finally, I focused on the animations and fog effects. I first made my ships dynamic and able to respond to the waves occurring around them. This is different from traditional keyframe animation, since there isn’t any specific direction happening at different points, rather, the ships instead respond to the ocean in real time based on how the ocean behaves.
Next, I spent some time adding fog. I attempted various methods, the card method, the cube emission method, and the cube volume method. The card method involved using 2D planes, making them self emissive (meaning they emit something, typically light), and adding a white texture to mimic fog. However, the scene proved too small for the cards and it looked really obvious and distracting.
I then tried the cube emission method. This involved adding a cube around the scene and making it emissive with a light white color. This however, didn’t work since it drowned out the light I needed and didn’t fit the scene atmosphere.
Finally, I tried the cube volume method. I kept the same cube over the scene and added a 3D volume to it. This makes actual fog that also reacts to light and is physically accurate. I made the fog itself emit a white light to slightly brighten the scene. This approach was the best method, although very computationally expensive since everything is physically reactive and accurate.
After that, I did the animation. I went to the final frame and placed the camera in position, then I inserted a keyframe to lock its position, and rotation. This is called ‘Keyframe Animation’ and is the traditional animation you see, because you’re directing what the object is doing at that specific point in time. Then I went to the front and tested around with various positions until feeling satisfied. However, after playback, the ships kept clipping out of sight, so I added a third keyframe in the middle and placed it safely with all ships in view.
Finally, I reconfigured the ocean and fog simulations to add some more realism with massive waves and the fog aggressively forming in shot. Creating a stormy, North Atlantic atmosphere.