Professional Portfolio Website
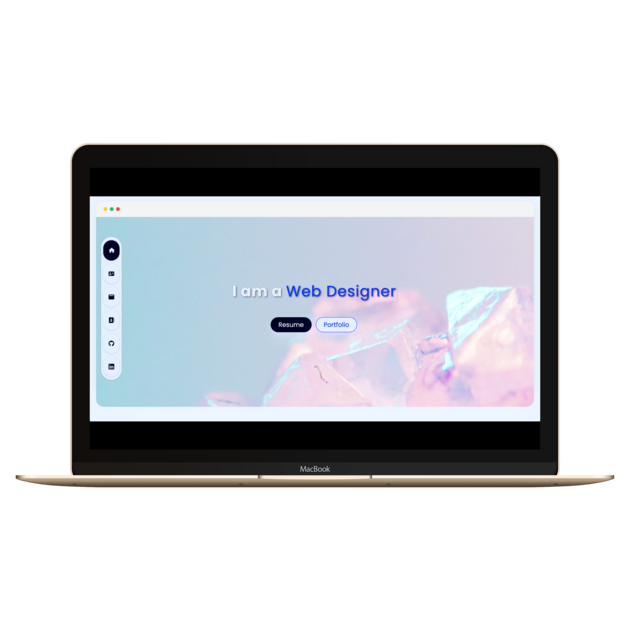
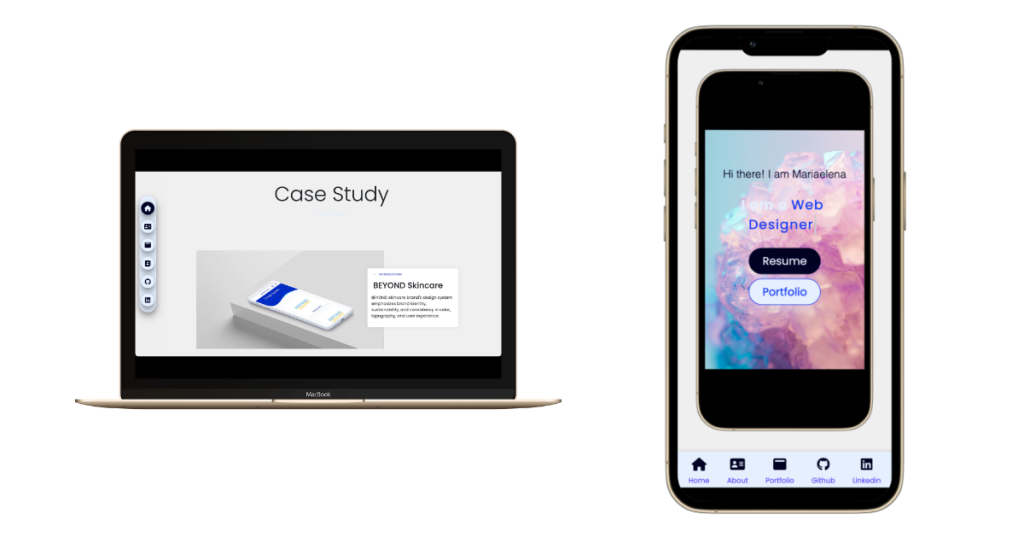
As I dive into the digital world over the years I feel that I need it to put myself out there in a way everyone, including potential employers, can see what I have done so far during my postgraduate.
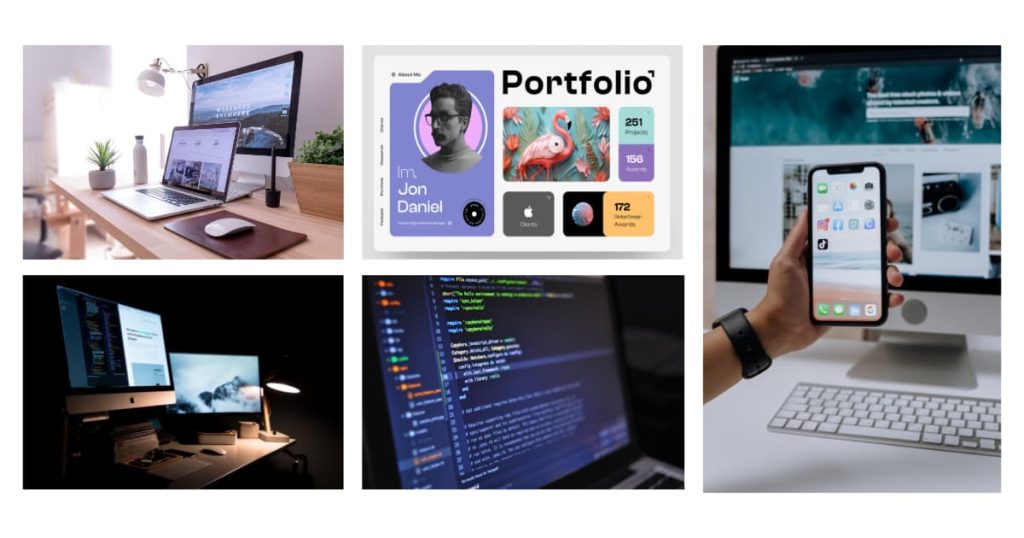
This is a Professional Portfolio Website with a dynamic and vibrant interface that transcends mere pixels.
AWS, Route 53, and EC2 along with HTML, CSS, and Javascript made it possible for me to build a WordPress child theme to showcase my projects and experience over the last two years and also, GitHub to keep track of my progress.
This project contains customized UI elements and my style on each.
Check out the website.
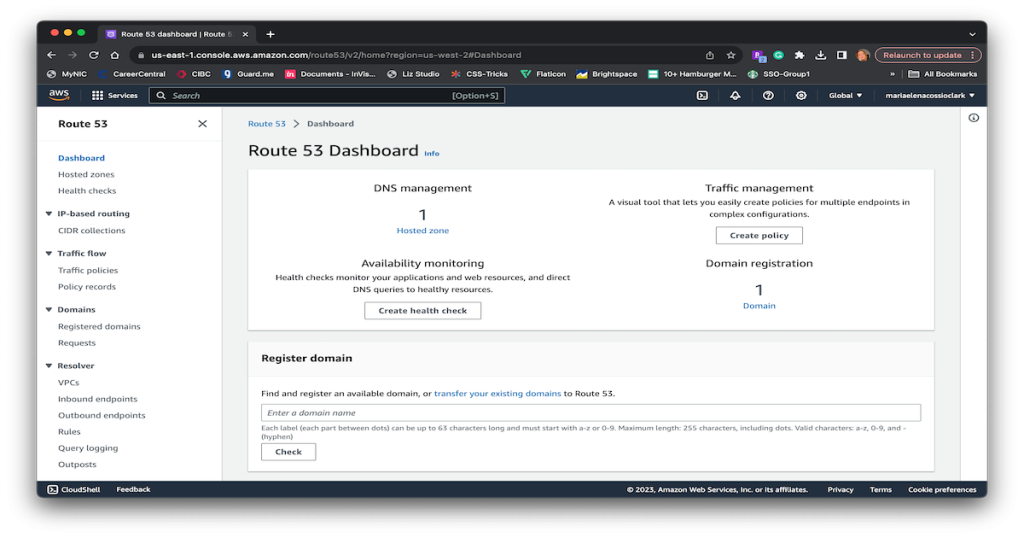
Step 1: Setting up my domain with AWS
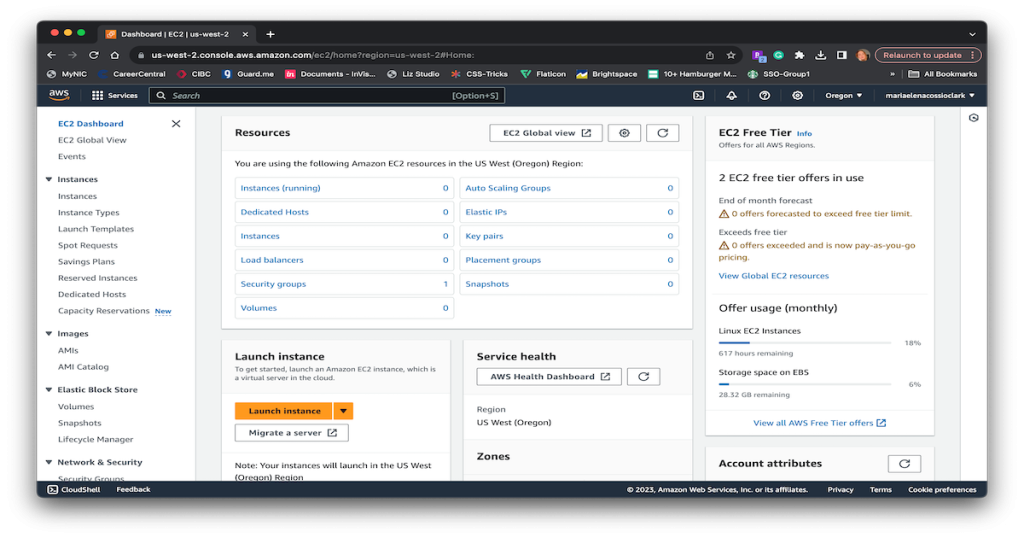
At the beginning of my research of which hosting service I will use, AWS was the best option for me, because most of the services I need to make it happen are all in one place. To start, I set up my domain with Route 53 due to the highly reliable DNS service. Then I integrate another AWS Service which is EC2, an instance where I can install WordPress to develop my child theme.
To install WordPress I choose “Bitnami” to run my stack because is easy to install, configure, and use, making it convenient to deploy my website.
Step 2: Setting up the environment
For me to start the building, I create a repository in my personal GitHub account where I keep track of my progress. In my repository, I download the starter template for the child theme and follow the official guide to build handcrafted sites with Understrap.
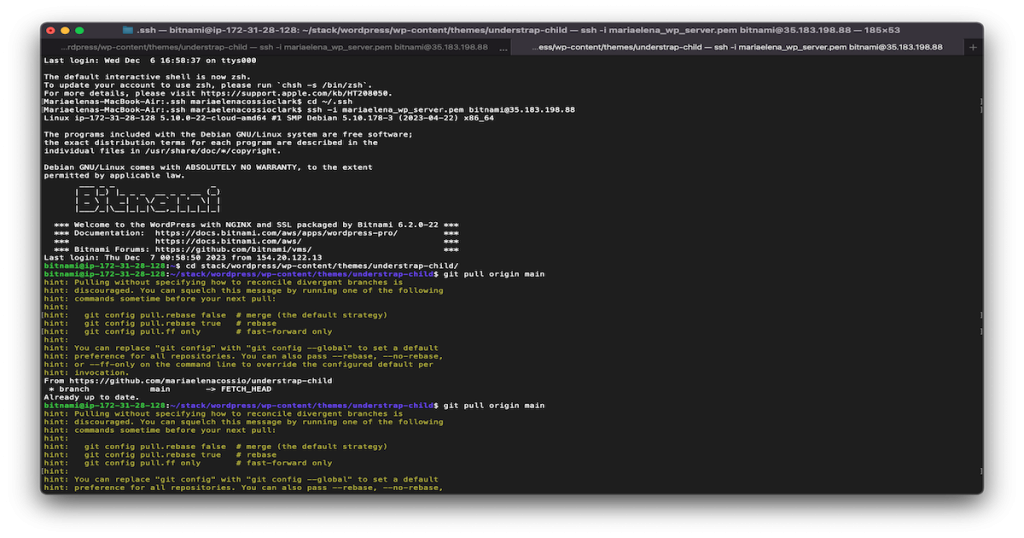
Then, I connected my instance where I already installed WordPress to my repository. At this point, I deployed my ongoing progress throughout the website development process, aiming to make it accessible in real time. Then, I run an “npm watch” on my terminal to detect all the changes when I pull all the changes to the server every time I push my commits to my repository.
Step 4: Develop a WordPress Understrap Child theme
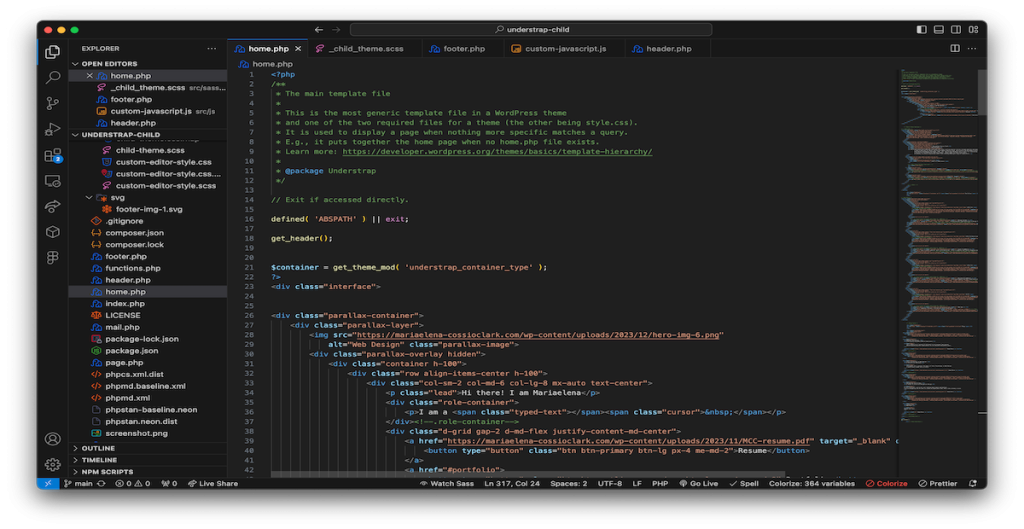
As I was developing and deploying at the same time, I came across some challenges since I was learning how to build page templates, and the hierarchy of each one of them in WordPress, and I decided to use plain and simple HTML inside my files to have more control over the layout and the style of my components. For this, I took reference from the Parent theme where I discovered where to add and build.
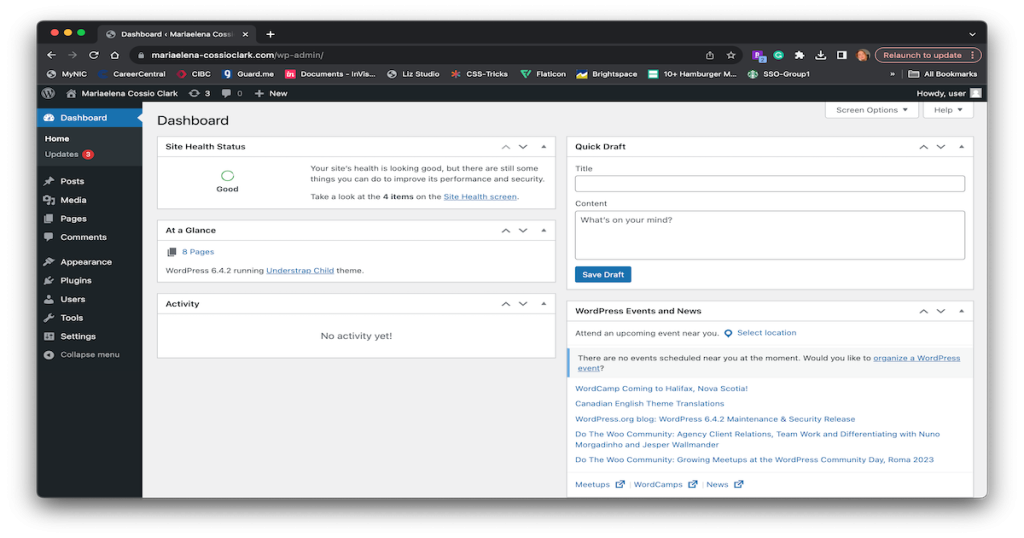
Then, I integrated an SSL Certificate to make my site secure for the users, to do that, I requested a certificate from AWS to validate the domain and ownership of the site, all of this to certify my website as a trusted SSL whenever a user lands on my site.
Step 5: Final Phase
For the final phase, I make sure every button is clickable, accessible, and functional as planned in the design. Also, ensured that the website loaded fast and efficiently so I made sure that the images were compressed without losing quality for a better performance.
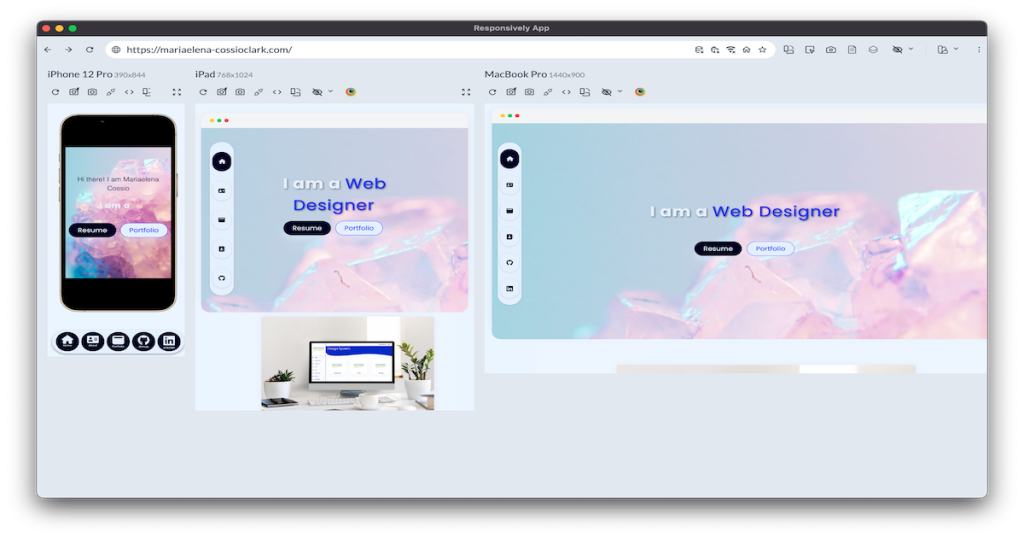
With the website live since the very beginning, I verified that it looked good across mobile devices – because one of my priorities is the user experience.
Every project comes with its challenges and mine wasn’t the exception. Is it fair to say that I encountered I few of them and for that, I dive into the documentation, the support of my instructor’s expertise, and the tools available in the market. And that taught me that I can make it possible and find solutions for every obstacle in the way.
In the end, testing, maintenance, and continuous refinement are and will always be a part of every project I put together out there in the digital world.
